How to Paint Furniture Without Sanding (Step by Step)
How to paint furniture without sanding: when chalk-style paint or bonding primer works, when it fails, lead safety, brush vs roller, and real cure times.
Under $50 · Renter-safe · Easy · 1 weekend plus cure timeUpdated
In this post
You can paint furniture without sanding if the old finish is clean, solid and not too glossy, and if you use a product built to grip it. That means a chalk-style or mineral paint sold as no-sand, or a bonding primer under regular paint. The real work moves from sanding to cleaning, testing and waiting.
This guide covers when skipping the sandpaper works, when it fails, which primer and paint to buy, and how to tell dry from cured. There's also a lead-paint check for old pieces, which matters more than any finish choice.
A thrifted nightstand runs about $35–$60 all in. A full dresser costs more, and both budgets are below. For sourcing the piece in the first place, start with our Dollar Tree and thrift DIY guide.
Safety First: Lead Paint on Older Pieces
Before you buy supplies, look at how old the piece is and whether it already has paint on it.
The EPA says homes built before 1978 are more likely to have lead-based paint, and it lists "refinishing old furniture" among the jobs that can expose you to lead. Treat painted furniture from that era with the same caution.
What that means in practice:
- Don't sand or scrape it. The EPA's advice is direct: "Do not attempt to remove lead-based paint yourself." If sanding can't be avoided, it says to wet the area first, sand the minimum needed and clean up thoroughly.
- Know what home test kits can do. The EPA recognizes a few kits, but only when a certified renovator, inspector or risk assessor uses them, and they're recognized only for confirming that lead paint is absent. For a firmer answer, the EPA points to certified lab testing or XRF testing.
- Skip it for kids' rooms. A chipping old dresser isn't worth the risk in a nursery. Pass on it, or have it tested before it comes inside.
When "No Sanding" Works
Skipping the sanding works when the existing surface is sound and you give the new coating something to hold.
Good candidates:
- Solid wood or wood veneer with an intact, dull or satin clear finish.
- Previously painted pieces where the paint is tight, not chipping (and not suspect for lead).
- Dated oak or "orange" pine that just needs a color change.
Three products that make it work:
- Chalk-style or mineral paint. Annie Sloan, for one, says its Chalk Paint needs "no sanding or priming" and lists wood, metal and laminate among the surfaces it works on. Other brands make similar claims, so read your can.
- Bonding primer. A primer made to stick to slick surfaces lets you use regular furniture or cabinet paint over an old finish.
- Deglosser (liquid sander). It's a chemical wipe that dulls a shiny finish so primer grips better. Use it exactly as the label says, including how long to wait before priming, and wear the gloves it calls for.
When It Doesn't Work
Paint is only as strong as the layer under it. No primer fixes a failing surface.
- Peeling or bubbled laminate. If the plastic skin is lifting at the edges, paint will lift with it. Glue it down and clamp it first, or move on.
- High-gloss lacquer or piano finishes. Some bonding primers claim to handle gloss, but very hard, shiny finishes are where shortcuts tend to fail. Scuff lightly, use a deglosser, or both.
- Damaged finish. Flaking paint, white water rings that go deep, sticky old varnish or furniture-polish buildup all need real repair.
- High-wear tops. A kitchen table or kids' desk takes more abuse than a nightstand. Here, a light scuff-sand on a non-lead piece is cheap insurance.
Step 1 Is Cleaning, Not Painting
Since you aren't sanding off the top layer, everything on it stays: hand oils, polish, cooking grease and dust. That's what ruins no-sand paint jobs.
Use a degreasing cleaner or a TSP substitute. Mix it, apply it and rinse it exactly as the label says, because strengths and rinse steps differ between brands. Wear gloves and eye protection if the label calls for them.
Then let the piece dry fully. Don't rush to prime a damp drawer front.
Bonding Primer Types (and When You Need Shellac)
There are two main jobs a primer does on furniture: sticking and blocking.
| Primer type | Use it for | Trade-off |
|---|---|---|
| Water-based bonding primer | Laminate, glossy paint, smooth veneer | Low odor and easy cleanup, but won't stop stains or bleed-through |
| Shellac-based primer | Water marks, smoke smell, musty odors, knots, red wood bleed | Strong odor; needs good ventilation and the solvent cleanup the label lists |
| Oil-based primer | Stain blocking on heavy pieces | Slow to dry, strong fumes, solvent cleanup |
Zinsser's technical data sheet for its B-I-N shellac-base primer says it seals pet, smoke and musty odors and adheres to glossy surfaces without scuff sanding. It also notes that some stains need a second coat.
When to use shellac: any thrifted piece that smells like smoke or a basement, has old water marks, or has a red-toned wood or stain that could bleed through white paint.
Paint Without Sanding or Priming: What to Buy
If you want to paint furniture without sanding or priming, a chalk-style or mineral paint is the simplest route. It's sold for exactly that, it dries matte and it's forgiving on curves.
The trade-off: chalk-style paint is soft and porous on its own. It needs a topcoat on anything you touch daily.
For a harder, more washable finish, use a furniture or cabinet enamel over a bonding primer. Benjamin Moore's product page, for example, says its ADVANCE paint "cures to a hard, furniture-quality finish."
Sheen guide:
- Matte or flat: hides dents and wavy veneer, shows fingerprints. Fine for sides of dressers, frames and decor pieces.
- Satin or eggshell: the safe middle for nightstands and dressers. Wipes clean, doesn't spotlight flaws.
- Semi-gloss: tough and wipeable, but shows every bump and roller mark.
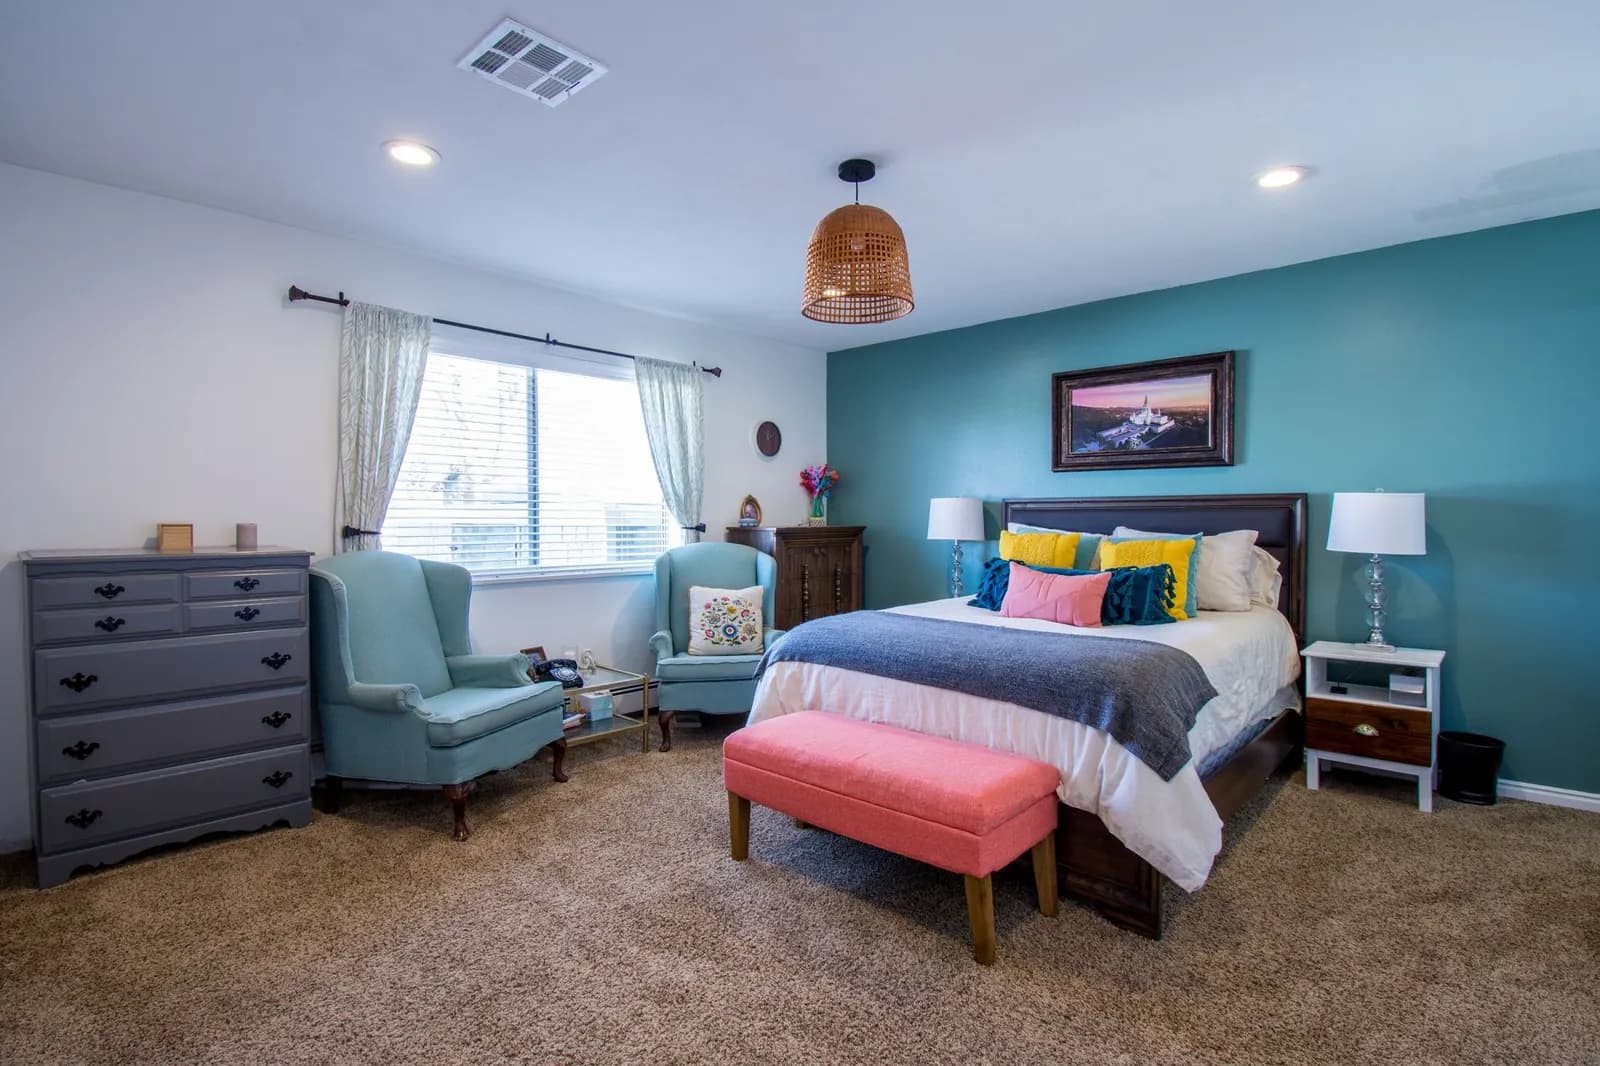
For color, a deep green, warm white, inky blue or clay tone looks intentional. If you're after a high-end catalog look, our Pottery Barn dupes guide compares what to DIY and what to buy.
Paint Furniture With a Brush or Roller?
The short answer: both. Each tool has a job.
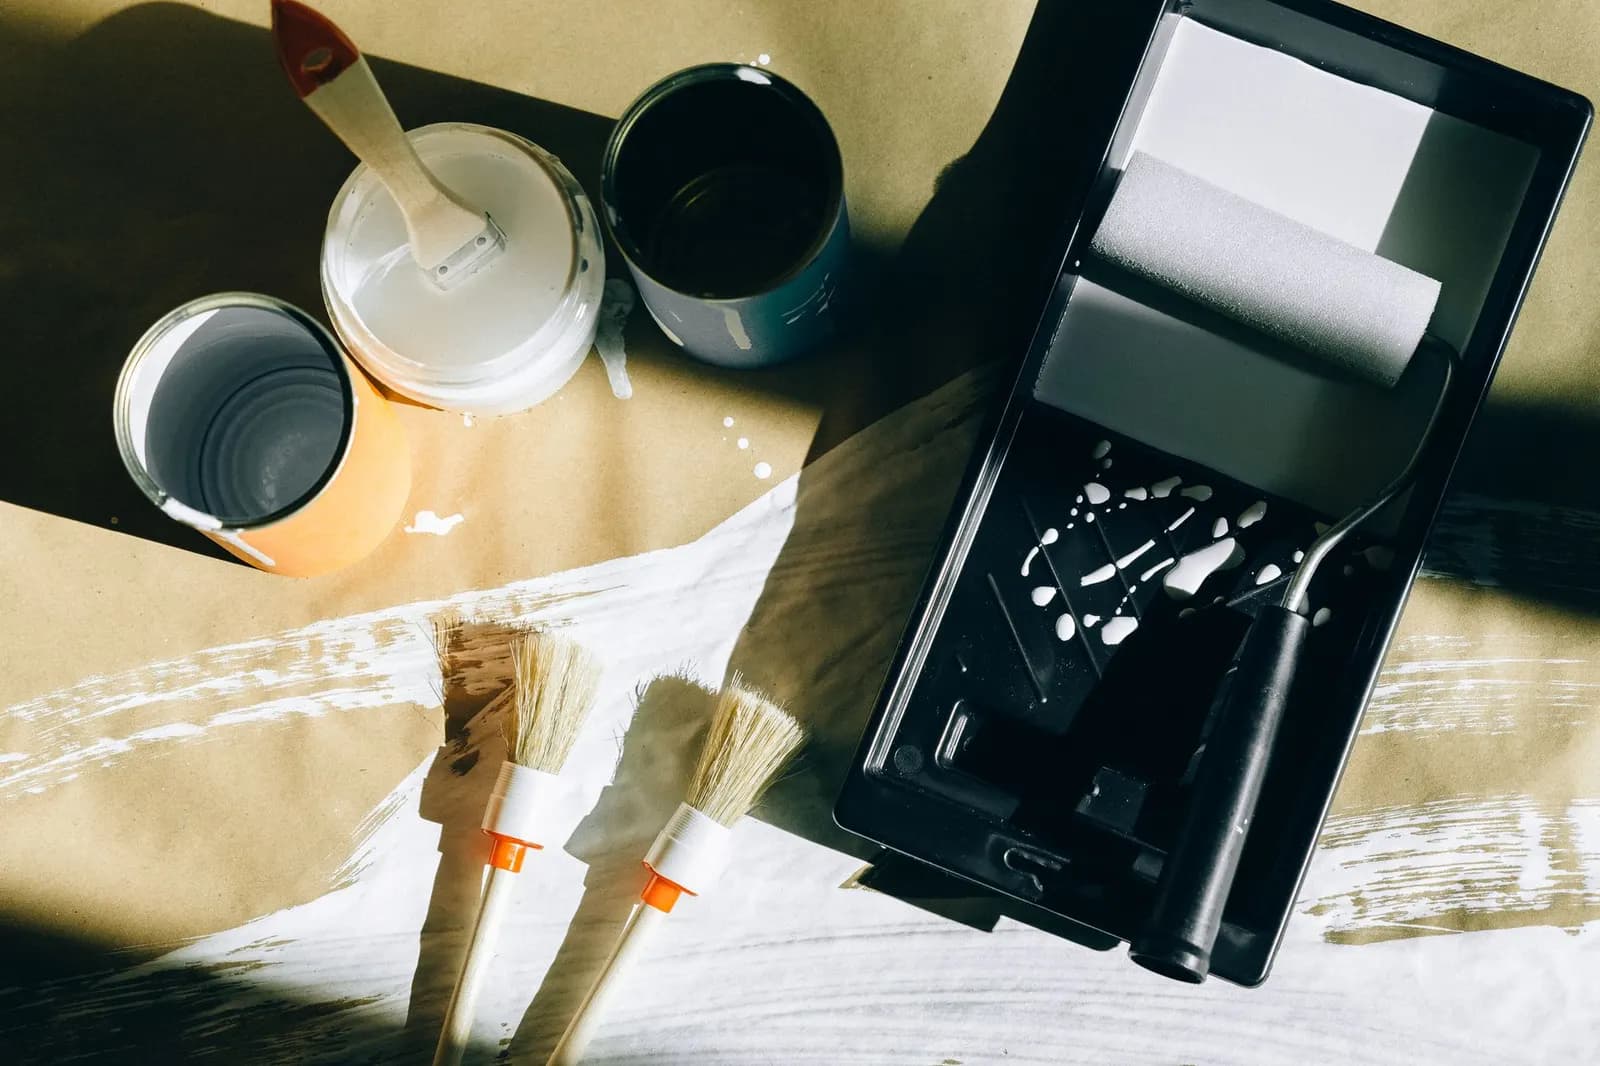
- Foam or fine-finish mini roller (4 inch): the best tool for tops, sides and drawer fronts. Benjamin Moore's cabinet-painting guide suggests a 4- to 6-inch fine-finish roller on flat surfaces and a brush for hard-to-reach areas. Rolling lays down a thin, even coat with no brush marks.
- Synthetic angled brush (1.5 to 2 inch): for edges, legs, corners and carved trim. Synthetic bristles suit water-based paint. Brush in the direction of the wood grain.
- Spray (paint sprayer or aerosol): the smoothest finish, ideal for spindly chairs and metal bases. It also means masking everything, spraying outdoors or in a well-ventilated space, and some practice.
A good routine is roll first, then "tip off" with the brush: one light pass with a nearly dry brush to smooth the roller texture along the edges.
How to paint a nightstand without sanding
Total time: about 2 day(s)
Materials
- Degreasing cleaner or TSP substitute
- Clean rags or lint-free cloths
- Painter's tape
- Wood filler (optional)
- Bonding or shellac-based primer (if needed)
- Chalk-style, mineral or furniture paint
- Water-based clear topcoat
- 220-grit sanding sponge (for light scuffing between topcoats only)
Tools
- Screwdriver
- Synthetic-bristle angled brush
- 4-inch foam or fine-finish mini roller
- Drop cloth
- Box fan for ventilation
Check the age and the finish
If the piece may be from before 1978 and has old paint, treat it as possible lead paint: don't sand or scrape it, and get it tested by a certified lab before you work on it. Then check the finish. Peeling veneer, flaking paint or bubbled laminate need repair or a different project.
Take it apart
Remove drawers, knobs and hinges, and put the screws in a labeled bag. Tape off anything you won't paint, such as drawer sides and the inside of the case.
Degrease and rinse
Scrub every surface with a degreaser or TSP substitute mixed and rinsed exactly as the label says. Pay extra attention to the top and around the pulls, where hand oils build up. Let it dry completely.
Run a scratch test
Paint or prime a small hidden spot, such as the back or the inside of a drawer front. After it dries per the label, press a piece of painter's tape on it and pull it off fast, then try to scratch it with a fingernail. If it lifts, add a bonding primer or scuff the surface before going further.
Prime if the piece needs it
Roll and brush on a thin coat of bonding primer for laminate or glossy finishes, or shellac-based primer for stains, water marks, wood bleed-through or odors. Skip this step only if your paint is sold as no-prime and the test spot held.
Paint in thin coats
Roll the flat surfaces in long strokes, then use the brush on edges and details. Two thin coats look better than one thick one. Wait the full recoat time on the can between coats.
Topcoat and let it cure
Brush or roll two or three thin coats of water-based topcoat, lightly scuffing with a 220-grit sponge between coats as the label directs. Reattach hardware, then go easy on the surface until the paint and topcoat have reached the label's cure time.
Topcoats: Water-Based Poly or Wax
The topcoat is what makes a no-sand paint job last.
Water-based polyurethane or polycrylic is the practical choice for nightstands, dressers and side tables. Minwax describes its Polycrylic as water-based, low odor, and "non-yellowing, non-ambering," which matters over white or pale paint. It recommends three coats, applied thin with a high-quality synthetic brush, and sanding between coats with 220-grit paper (not steel wool).
Furniture wax is the traditional finish for chalk-style paint. It gives a soft, hand-rubbed look, but it's less protective against water rings, and you can't easily paint or poly over it later. Keep wax for low-touch pieces like a decorative cabinet or picture frame.
Oil-based poly is tougher, but it can amber over light colors. Skip it on white paint.
Dry Time vs. Cure Time
This is where a lot of painted furniture gets ruined. "Dry" means the surface doesn't feel tacky. "Cured" means the coating has hardened enough to take weight and wear.
Two manufacturer examples:
- Minwax Polycrylic: recoat after 2 hours; after the final coat, allow 3 hours before light handling and 24 hours before normal use.
- Benjamin Moore ADVANCE: a 16-hour recoat time on the product page, and three to five days as the optimal cure time on cabinets. Benjamin Moore also warns that recoating too soon extends the cure time.
Your products will differ, so the can's label is the rule. Until it's cured, don't stack books on the top, don't set a lamp on it, and slide drawers in gently.
Ventilation and VOCs
The EPA lists paints, paint strippers and other solvents among household products that release volatile organic compounds (VOCs), and notes that paints, varnishes and wax all contain organic solvents.
Its advice: increase ventilation when you use them, meet or exceed any label precautions, and buy only as much as you'll use right away. Minwax's Polycrylic label likewise says to use it only with adequate ventilation and to open windows and doors during application and drying.
In practice: paint in a garage with the door open or near an open window, with a box fan blowing air out. Shellac and oil-based primers need extra airflow. Keep pets and kids out of the room until the smell clears.
Paint Furniture to Look Like Wood (Faux Grain)
If you love the wood look but the real finish is damaged, faux graining can work over a painted base. Paint a light tan or caramel base coat, then drag a slightly darker glaze over it with a rubber wood-graining rocker tool, rocking it as you pull to make the knots and lines.
It takes practice. Try it on a piece of cardboard first, work one panel at a time, and seal it with water-based poly. Up close it reads as paint, but from across the room it can pass.
Budget: Nightstand Flip and Dresser
A nightstand is the best first project: small, quick and cheap if it goes wrong. Thrift stores and Marketplace are full of solid ones; our guides to what to buy at thrift stores and buying furniture on Facebook Marketplace cover what to check before you pay.
Budget breakdown: Nightstand flip ($35–$60)
$35–$60
| Item | Price range | Where to buy |
|---|---|---|
| Solid wood or wood-veneer nightstand | $10–$20 | Thrift stores, Facebook Marketplace |
| Degreasing cleaner or TSP substitute (small bottle) | $4–$8 | Home Depot, Lowe's, Walmart |
| Chalk-style or mineral furniture paint (small can) | $10–$16 | Home Depot, Lowe's, Walmart |
| Water-based clear topcoat (half pint) | $8–$10 | Home Depot, Lowe's, Walmart |
| Synthetic brush plus 4-inch foam mini roller | $3–$6 | Walmart, Home Depot, Dollar Tree |
| Shellac-based spray primer (only for stains or odors)(optional) | $6–$12 | Home Depot, Lowe's |
| New knobs (2)(optional) | $4–$12 | Home Depot, Target, Amazon |
| Total (without optional) | $35–$60 |
Prices are approximate as of October 2026 and vary by store and region. Prices are approximate as of October 2026 and vary by store, brand, size and region. Thrift and Marketplace prices vary the most.
A dresser needs a quart of everything and more patience. Leftover paint from the dresser can cover a nightstand to match.
Budget breakdown: Six-drawer dresser
$85–$183
| Item | Price range | Where to buy |
|---|---|---|
| Wood or veneer dresser | $25–$80 | Facebook Marketplace, thrift stores, Habitat ReStore |
| Degreasing cleaner or TSP substitute | $4–$8 | Home Depot, Lowe's, Walmart |
| Bonding primer (1 quart) | $15–$25 | Home Depot, Lowe's |
| Furniture or cabinet paint, satin (1 quart) | $18–$30 | Home Depot, Lowe's, Sherwin-Williams |
| Water-based clear topcoat (1 quart) | $15–$25 | Home Depot, Lowe's, Walmart |
| Fine-finish mini roller kit plus angled brush | $8–$15 | Home Depot, Lowe's, Walmart |
| New pulls or knobs (6–8)(optional) | $10–$30 | Home Depot, Amazon, IKEA |
| Total (without optional) | $85–$183 |
Prices are approximate as of October 2026 and vary by store and region. Prices are approximate as of October 2026 and vary by store, brand, size and region. Thrift and Marketplace prices vary the most.
Common Mistakes
- Skipping the degreaser. Clean wood that looks clean usually isn't.
- Thick coats. They drip, wrinkle and take far longer to cure.
- Painting drawer sides. Paint on the runners makes drawers stick. Tape them off.
- Reloading the piece too early. Dry isn't cured. Check the label.
- Wax under poly. Poly won't bond over wax. Choose one finish.
Renter-Friendly Version
A painted nightstand pairs well with a renter-friendly headboard; see our cheap headboard alternatives for ideas, or fold both into a bedroom makeover under $100.
Frequently asked questions
Can you paint furniture without sanding it first?
Yes, if the old finish is sound. Clean it well, then use a paint sold as no-sand (many chalk-style paints) or put a bonding primer under regular paint. Sanding is still the better choice for peeling, flaking or very glossy finishes, unless the piece may have lead paint, in which case you shouldn't sand it at all.
What happens if you don't sand before painting furniture?
On a clean, dull, intact surface with the right primer or paint, usually nothing bad. On a greasy, waxed or high-gloss surface, the paint can scratch off with a fingernail or peel in sheets. The adhesion test in this guide shows you which case you have before you paint the whole piece.
Is it better to paint furniture with a brush or roller?
Use both. A 4-inch foam or fine-finish mini roller gives the smoothest result on flat tops, sides and drawer fronts, and a good synthetic brush handles edges, legs and carved details. Spraying gives the smoothest finish of all, but it needs more masking, ventilation and practice.
Do I need to prime furniture before painting?
Not always. Some chalk-style paints are sold as needing no sanding or priming. Use a bonding primer on laminate and glossy finishes, and a shellac-based primer on wood that bleeds stains, has water marks or smells like smoke or must.
How long does painted furniture take to cure?
Longer than it takes to dry. Paint can feel dry within hours but stay soft for days. Benjamin Moore, for example, gives three to five days as the optimal cure time for its ADVANCE paint on cabinets, and Minwax says to wait 24 hours before normal use after the last coat of Polycrylic. Follow your can's label.
By [Author Name]. Prices are approximate as of October 2026. How we work.
Sources (8)
- Protect Your Family from Sources of Lead, US EPA (accessed 2026-10-23)
- Lead Test Kits, US EPA (accessed 2026-10-23)
- Volatile Organic Compounds' Impact on Indoor Air Quality, US EPA (accessed 2026-10-23)
- Polycrylic Protective Finish, Minwax (accessed 2026-10-23)
- How to Paint Inside Kitchen Cabinets in 7 Steps, Benjamin Moore (accessed 2026-10-23)
- Advance Interior Paint - Satin, Benjamin Moore (accessed 2026-10-23)
- B-I-N Shellac-Base Primer Ultimate Stain Blocker (Technical Data Sheet), Zinsser (Rust-Oleum) (accessed 2026-10-23)
- Chalk Paint, Annie Sloan (accessed 2026-10-23)
Image credits: Photo: Curtis Adams · Pexels · Pexels License; Photo: Rosa Stone · Pexels · Pexels License; Photo: Nataliya Vaitkevich · Pexels · Pexels License; Photo: cottonbro studio · Pexels · Pexels License; Photo: Get Lost Mike · Pexels · Pexels License.