
You've probably strolled through a dollar store, passing over the seemingly mundane items without a second thought. But have you ever considered the home decor potential lurking within those aisles? With some imagination, you can transform those budget buys into unique, stylish pieces for your home. And the best part? You won't have to spend a fortune. Intrigued? Stick around and we'll explore the unexpected versatility of dollar store items, uncovering the secrets to inexpensive yet impressive home decor.
Key Takeaways
- Transform a plain glass vase into a stunning decor piece using spray paint and embellishments.
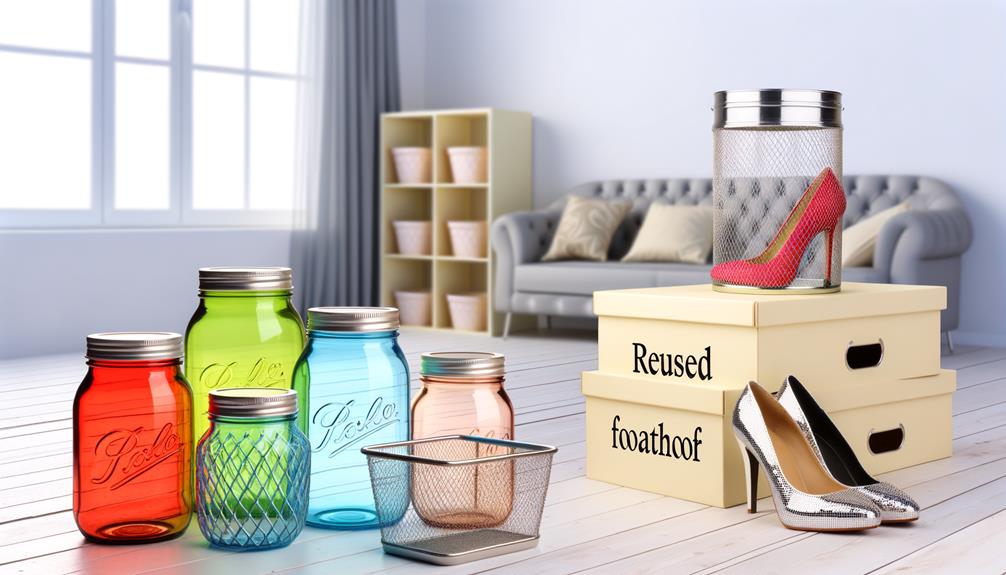
- Create stylish storage solutions by repurposing plastic bins and using budget-friendly items like wire racks and glass jars.
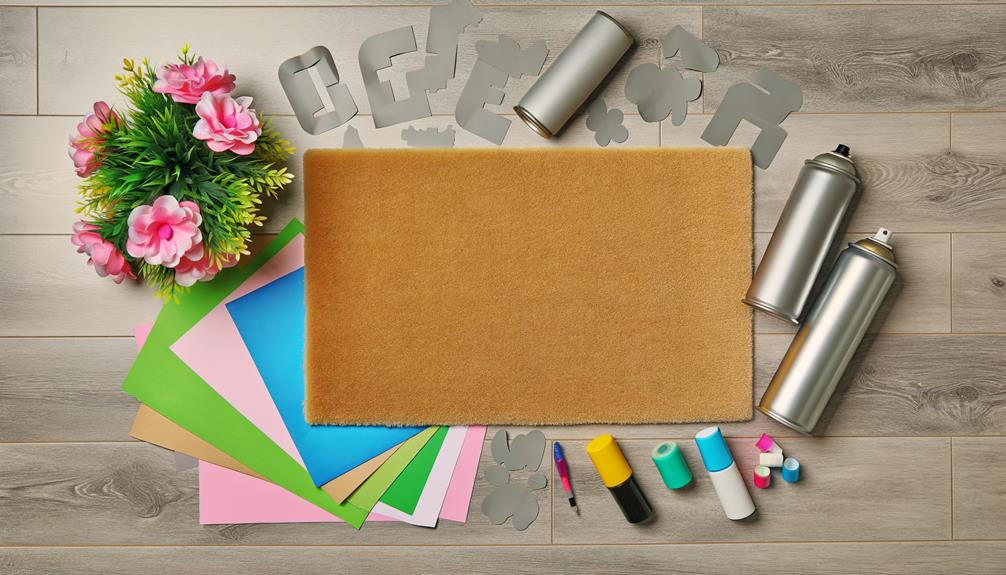
- Personalize door mats with stencils and outdoor spray paint for a unique touch to your home's exterior.
- Repurpose a picture frame into a custom wreath or a chic framed mirror for personalized wall decor.
- Make your own table centerpieces using dollar store items like glass vases, faux flowers, and artificial fruits.
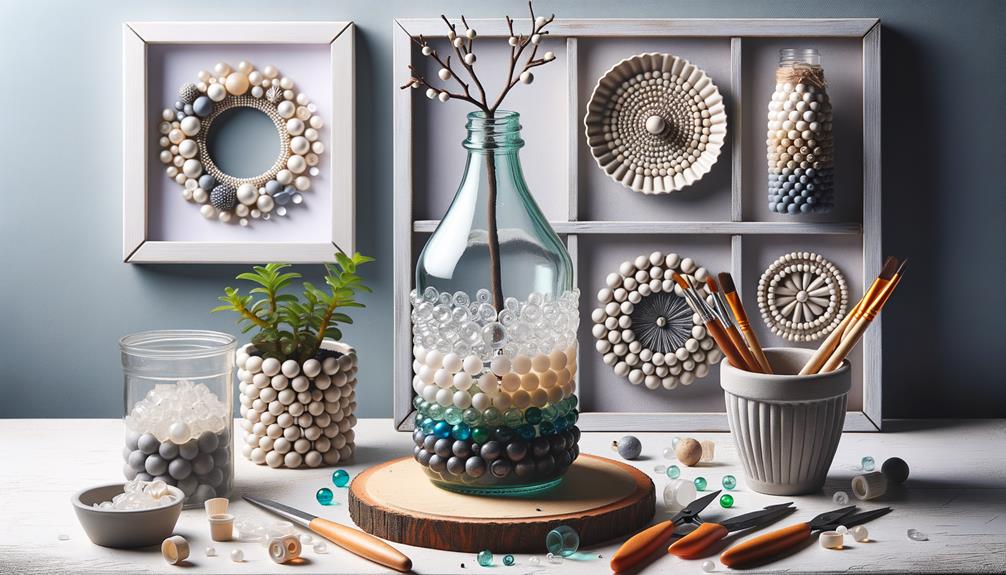
Glass Vase Makeover
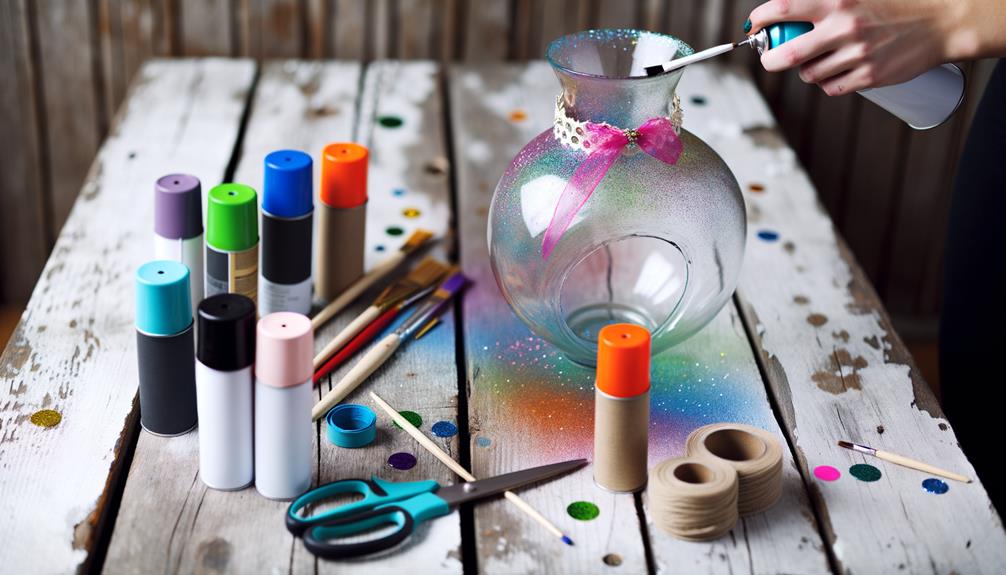
You'd be surprised at how a simple dollar store glass vase can be transformed into a stunning piece of home decor. It's all about getting creative with what you've got. Start by cleaning the vase thoroughly. You wouldn't want any dust or grime getting in the way of your masterpiece.
Next, think about the color scheme. Do you want a sophisticated silver? Or perhaps a bold blue? Whatever you choose, take a can of spray paint and give the vase a good once-over. Remember to do this outside or in a well-ventilated area. You don't want those fumes lingering in your home.
While the paint is drying, consider adding embellishments. Glue on some rhinestones for a bit of sparkle, or wrap twine around the neck for a rustic look. You could even use a stencil to paint a design on the surface.
DIY Framed Mirror
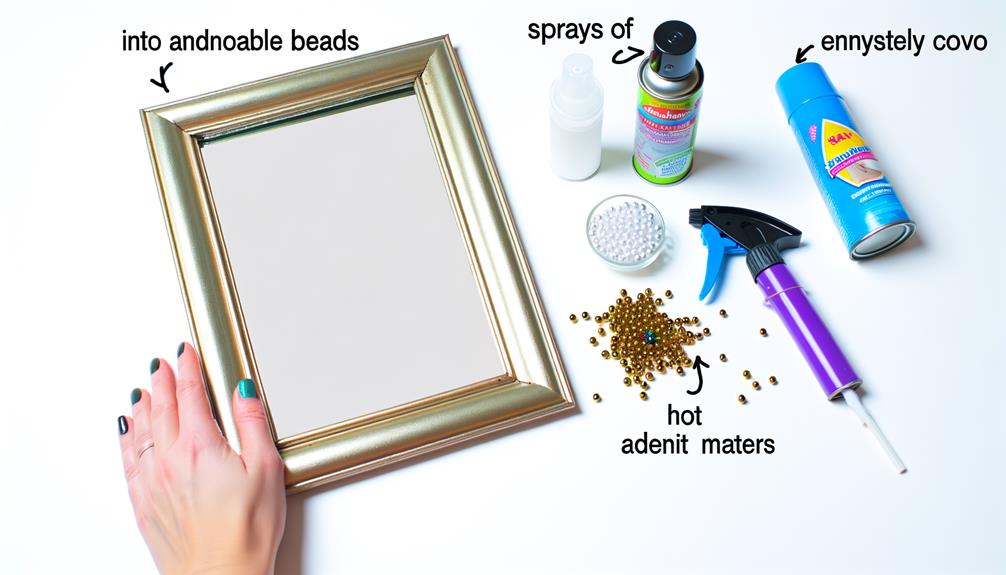
Another easy yet stunning dollar store hack is creating your own framed mirror. This DIY project not only enhances your home's aesthetics but also saves you a significant amount of money. You'll be amazed at how simple it is to transform a plain mirror into a statement piece.
Here's a step-by-step guide on how to create your DIY framed mirror:
- Purchase a mirror and picture frames: Head to your local dollar store and get a simple mirror and several picture frames. You'll use the frames to create the border around the mirror.
- Paint the frames: Choose a color that complements your home decor. Use spray paint for a smooth, even finish. Let it dry completely before moving on to the next step.
- Assemble the frame around the mirror: Arrange the frames around the mirror in a design that suits your style. You can lay them out flat or even create a 3D effect by layering them.
- Secure the frames: Once you're happy with your design, use a hot glue gun to secure the frames to the mirror.
And voila! You've now got a chic and classy framed mirror that didn't break the bank. This DIY project adds a personalized touch to your home decor.
Handmade Candle Holders
While you're at the dollar store, don't forget to pick up some glass votives for a quick and easy DIY candle holder project. With a bit of craft paint and a delicate hand, you can transform these simple glass pieces into chic, handmade candle holders that'll add a touch of class to any room.
Start by selecting a design. You could opt for an abstract pattern or even a simple monogram. Once you've decided, grab a paintbrush and start crafting your art. If you're not artistically inclined, don't worry. Stencils are a great way to ensure a clean, professional look.
After you've completed your design, let the paint dry. Then, place a tea light or small pillar candle inside the votive. The glow will illuminate your design, creating a stunning visual effect.
Stylish Storage Solutions
Let's turn to the topic of stylish storage solutions. You'll be amazed at how many budget-friendly organizing items you can find at the dollar store.
We'll also discuss how to add your own DIY aesthetics to these storage solutions for a personalized touch.
Budget-Friendly Organizing Items
Ever wondered how to turn your cluttered space into a stylish haven without breaking the bank? Dollar stores offer budget-friendly organizing items that can help you achieve just that.
- Plastic Baskets: They're perfect for categorizing items in your closet, bathroom, or kitchen. You can even label them for added organization.
- Glass Jars: Use these for anything from storing spices to holding bathroom knick-knacks. Their transparent nature makes it easy to spot what's inside.
- Wire Racks: Ideal for creating extra shelf space in cupboards or under sinks. They're also great as shoe racks.
- Storage Boxes: They come in various sizes and can be stacked to optimize space.
DIY Storage Aesthetics
You don't have to sacrifice style for functionality with these DIY storage aesthetics from the dollar store. Start by grabbing some plastic bins. You can transform these into chic, woven baskets with a bit of spray paint and some macramé rope. It's a simple hack that'll add a touch of rustic charm to any room.
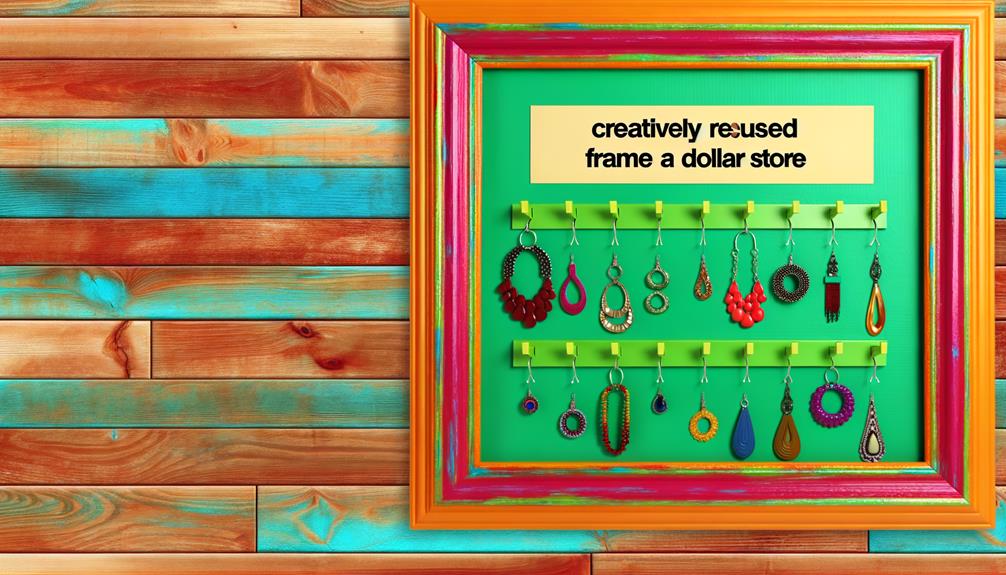
Next, consider repurposing picture frames into innovative jewelry displays. Simply remove the back, add a piece of lace or wire mesh, and you've got a stylish, functional piece.
Picture Frame Wreath

Transforming a simple picture frame into a stunning wreath is an easy and inexpensive dollar store hack. This creative home decor project isn't only budget-friendly but also adds a personalized touch to your space. Let's get you started on crafting your own picture frame wreath.
Here's a simple guide:
- Choose Your Frame: Start by picking up a picture frame of your preferred size and style from a dollar store. You can either go for a traditional square or rectangular shape or try something different with an oval or circular frame.
- Select Your Decorations: Next, select your decorations. Consider seasonal items like faux flowers for spring, leaves for fall, or ornaments for the holidays. Also, consider adding a bow or some ribbon for a festive touch.
- Arrange and Attach: Now, arrange your decorations around your frame in a way that pleases your eye. Once you're happy with the setup, use a hot glue gun to attach them securely.
- Hang Your Wreath: Lastly, attach a piece of string or ribbon to the top of your frame and hang your new wreath in your desired location.
With this dollar store hack, you'll have a custom, stylish wreath in no time!
Decorative Wall Art
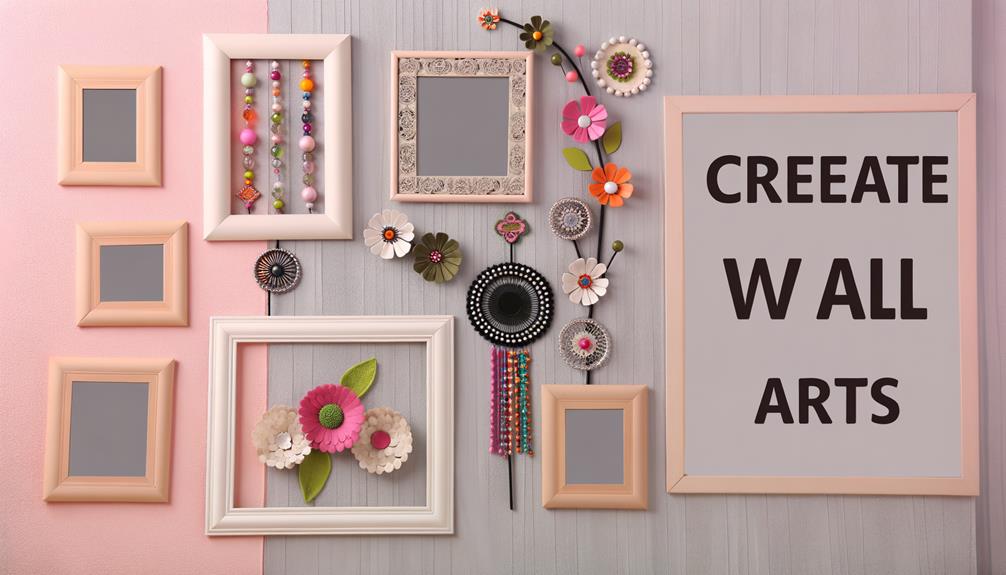
Dollar store finds can easily turn into chic decorative wall art that adds a personal touch to your home. Think beyond framed prints and consider unique objects that can be transformed into eye-catching pieces. It's all about looking at items with a creative eye and seeing their potential.
You might come across colorful plates, for instance, that you'd typically overlook. Hang them up in a pattern on your dining room or kitchen wall for a vibrant, eclectic display. Or, find a simple mirror and embellish it with artificial flowers or sea shells for a custom, high-end look.
Don't forget about textiles. Scarves, table runners, or placemats can be stretched over a canvas frame for instant, budget-friendly art. Or, consider spray painting inexpensive plastic or metal items for a modern, metallic touch.
And remember, you're only limited by your imagination. With a bit of creativity, you can create unique, beautiful wall art without breaking the bank. Just remember to keep an open mind and think outside the box when browsing the dollar store aisles. You'll be surprised at the treasures you might find.
Personalized Coasters
Moving on from wall art, let's explore how to make personalized coasters from dollar store items. This simple project not only adds character to your living space but also protects your furniture from nasty water rings.
To get started on your coaster-making journey, you'll need:
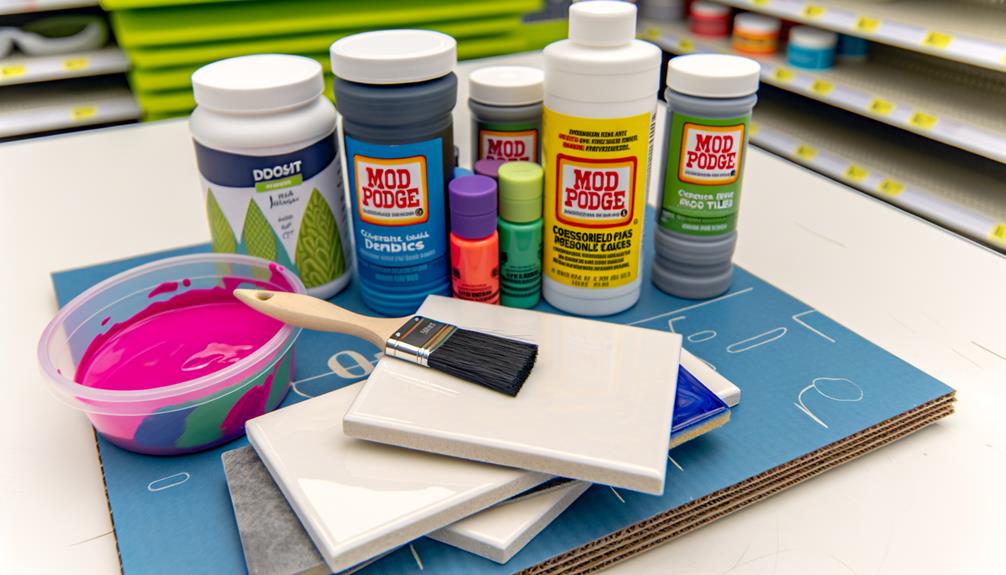
- Cork or ceramic tiles: These can be found in the home improvement section of most dollar stores. They're sturdy, absorbent, and perfect for this project.
- Mod Podge: This will seal your design onto the coaster, ensuring it stays in place despite the condensation from your drinks.
- Pictures or decorative paper: This is where you can really let your personality shine. Choose images or patterns that speak to you. It could be a family photo, a page from your favorite magazine, or even a printout of a cherished memory.
- Clear acrylic sealer: This is your final layer of protection. It'll give your coasters a glossy finish and make them water-resistant.
Customized Door Mats
Let's move on to the next fun project, customized door mats. You'll find picking out a mat from a dollar store not only budget-friendly but also a fun canvas for your creative ideas.
We're going to explore how to personalize these mats to make your entrance inviting.
Choosing Your Door Mat
In your quest for budget-friendly home decor, don't overlook the potential of a customized door mat from the dollar store. It's an easy way to add a personal touch and welcome guests to your home.
Here are four things to consider when choosing your door mat:
- Size: Ensure it's wide enough for your door and the space around it. You don't want it to look too small or be a tripping hazard.
- Material: Opt for durable materials like coir or rubber. They'll withstand the elements and heavy foot traffic.
- Color: Choose a color that complements your home's exterior. Remember, it's one of the first things guests will notice.
- Pattern: Pick a pattern that reflects your personal style. But avoid overly intricate designs that can become dirty easily.
Personalizing Mat Designs
Now that you've chosen the perfect mat, it's time to add your personal touch with some creative customization. You won't believe the transformation simple dollar store items can make! Grab some stencils and a can of outdoor spray paint. Choose a design that reflects your personality, whether that's a favorite quote, a quirky pattern, or even your family's name. Remember, it's all about making it uniquely yours.
Don't be afraid to experiment with colors and patterns. It's your home, let it reflect you! And if you mess up, don't worry. It's just a dollar store mat, you can easily start over. The key is to have fun with it and let your creativity shine through in every brush stroke or spray of paint.
Dollar Store Flower Arrangements
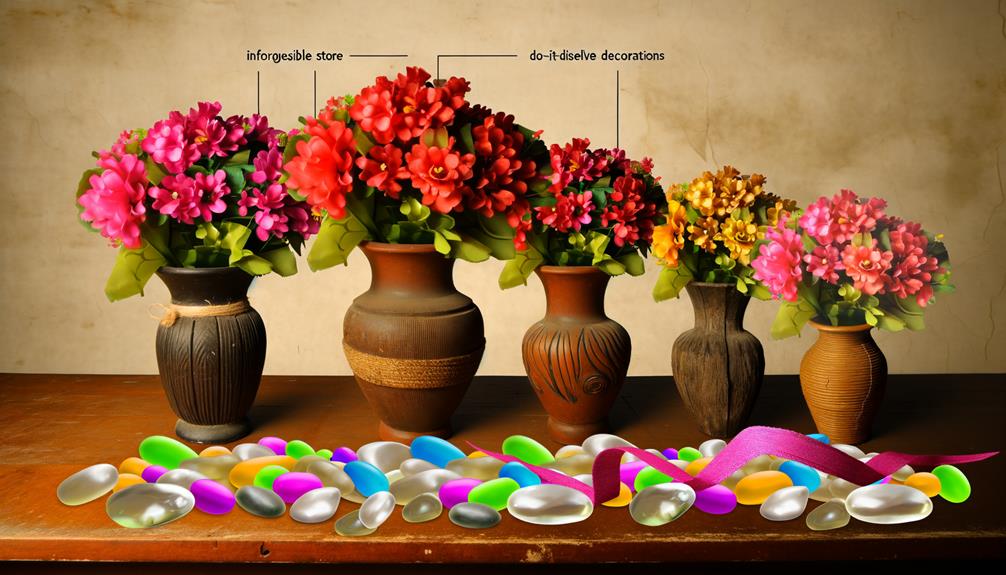
You can create stunning flower arrangements on a shoestring budget using items from your local dollar store. With a little creativity, you can transform everyday items into beautiful, eye-catching centerpieces or decorations. Here's how you can do it:
- Find the Right Vessel: Look for glass vases, mason jars, or even ceramic mugs that could serve as a container for your arrangement. Don't limit yourself to traditional options, an unusual choice can make your arrangement stand out.
- Choose Your Flowers: The dollar store often has a variety of silk flowers. Pick out a few bunches that catch your eye. You could stick to a color theme or mix and match for a wildflower look.
- Arrange Your Flowers: Start by placing your larger blooms first, then fill in with smaller flowers and foliage. Don't be afraid to trim stems or leaves to get the right look. Remember, less is sometimes more.
- Add Finishing Touches: Consider adding decorative items like ribbon, beads, or even small figurines. These additional elements can really elevate your arrangement.
Thrifty Wall Clock Redesign
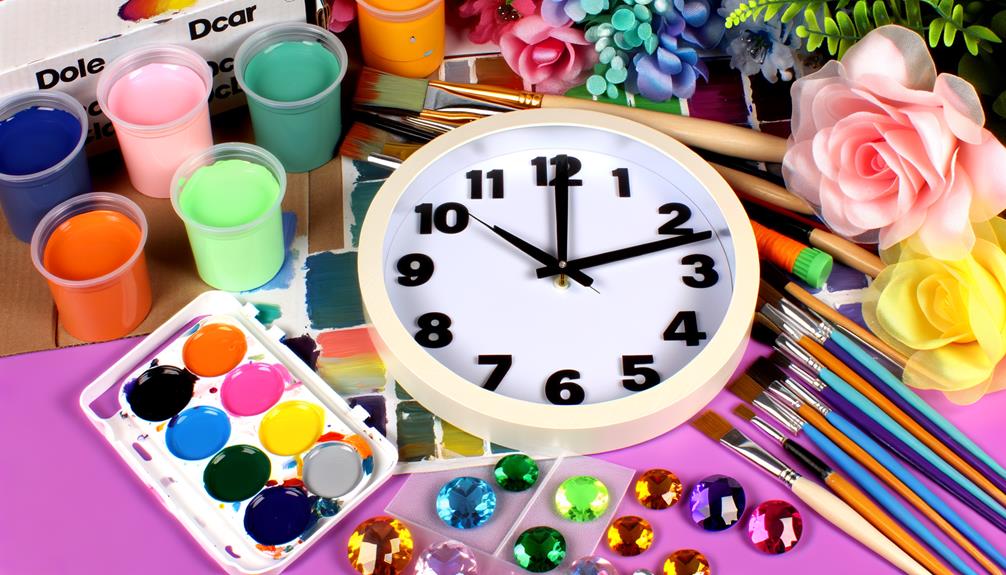
Moving on from flower arrangements, let's tackle another affordable home decor project with a dollar store wall clock. Redesigning a wall clock isn't as daunting as it sounds, and with a little creativity, you can turn it into a statement piece.
First, start by disassembling the clock. You'll be left with the clock mechanism and a blank clock face. Here's where the fun begins. Have you considered using fabric or wallpaper samples to give your clock a new look? It's as simple as cutting the material to size and gluing it onto the clock face. Alternatively, you could use paint or decals for a more artistic touch.
Next, reassemble the clock, but don't stop at the original design. Think outside the box. How about replacing the standard clock hands with something more unique? Forks, old keys, or even painted twigs could add a quirky touch.
Lastly, consider adding embellishments around the clock. Picture frames, dried flowers, or vintage postcards can frame your clock, making it a centerpiece. Just remember to keep it balanced and in line with your overall decor.
With a little effort, you've got yourself a custom-designed wall clock on a budget.
Handcrafted Wind Chimes
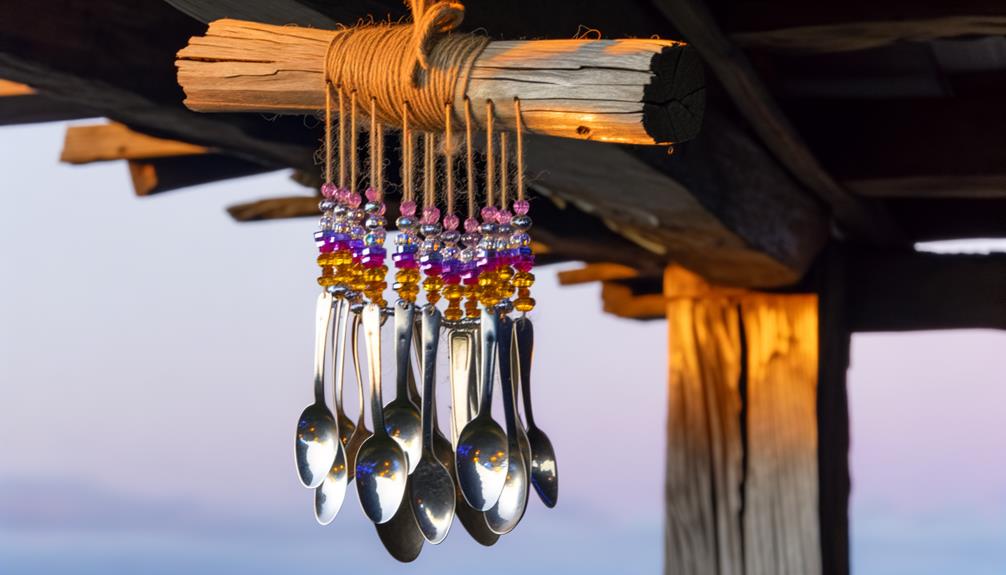
Harnessing the gentle whisper of the wind, handcrafted wind chimes are another stunning and cost-effective decor hack you can create from dollar store items. With just a few materials and a touch of creativity, you can craft a beautiful wind chime that not only enhances the aesthetic appeal of your outdoor space but also creates a calming melody every time the wind blows.
Here's a simple guide to making your wind chime:
- Start with the Basics: Look for inexpensive items like metal spoons, wooden beads, or seashells. These will act as your chime's elements, creating different sounds when struck by the wind.
- The Support: Use a round embroidery hoop or even a plastic lid as the support structure from which to hang your chimes.
- String it Together: Use fishing line or nylon thread to tie your elements to your support structure. Experiment with different lengths for varying sounds.
- Final Touches: Add a touch of charm with decorative beads or faux flowers.
Creating handcrafted wind chimes is a fun and rewarding project. With patience and imagination, you'll have a unique piece of decor that's not just visually appealing, but also a delight to your ears.
Repurposed Kitchen Canisters
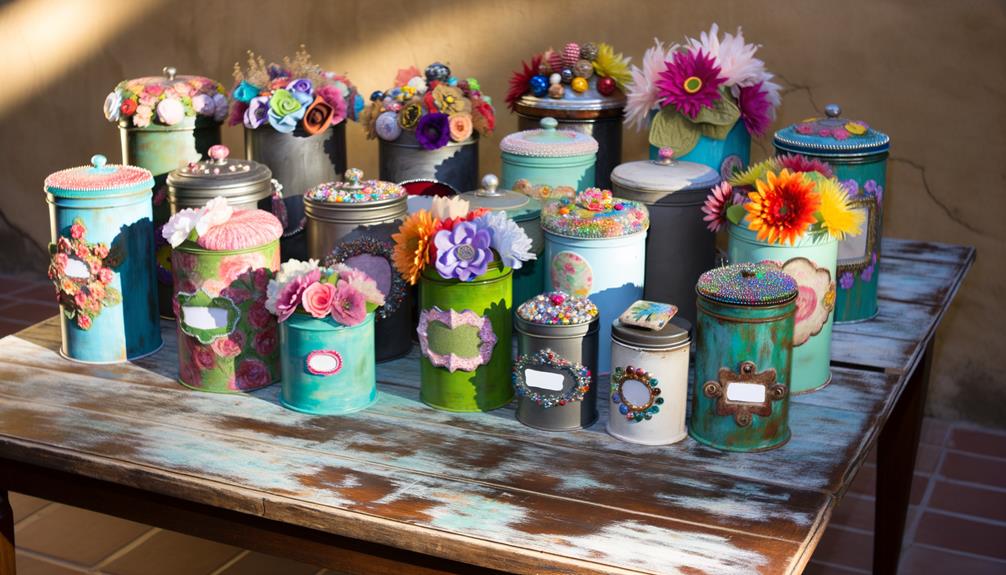
While adding an audible charm to your home with wind chimes, don't overlook the potential of your kitchen items; for instance, those unused kitchen canisters can be repurposed into trendy home decor.
You'd be amazed how a simple canister can transform into a stylish centerpiece or unique storage solution. Start by giving your old canisters a good cleaning. Then, let your creativity flow. You can paint them in vibrant colors or wrap them up with dollar store twine for a rustic look. If you're into a vintage vibe, apply chalk paint and gently sand the edges for a distressed look.
For a practical twist, you can turn your canister into a utensil holder or a cookie jar. If you're crafty, use it as a candle holder or plant pot. You could even personalize it with stencils or stickers from your local dollar store.
Economical Throw Pillow Upgrade
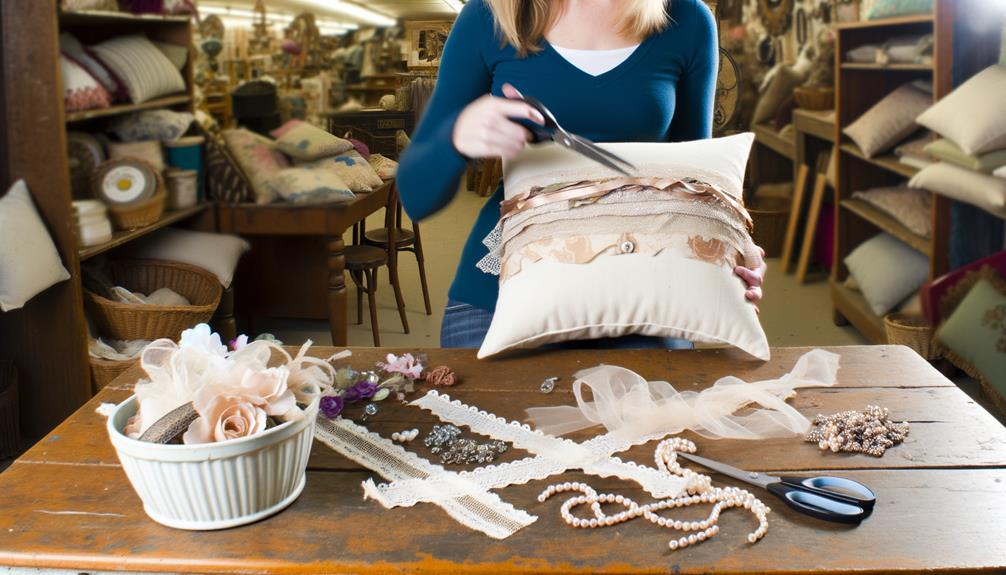
Next up, let's tackle that old throw pillow you've got lying around, because with a few dollar store finds, you can give it a stylish upgrade. It's easy, fun, and won't break the bank.
- Fabric: Look for unique, eye-catching fabric at the dollar store. It doesn't have to be fabric specifically for pillows; it could be a tablecloth, curtain, or even a scarf. You're looking for something that matches your decor and adds a pop of color or pattern.
- Stuffing: If your old pillow is flat, add some new life with extra stuffing. You can often find bags of stuffing at the dollar store, or buy a cheap pillow and use the stuffing from that.
- Sewing Supplies: You'll need a needle and thread to put your pillow together. If you don't already have these, the dollar store will have them in their craft section. Don't worry if you're not a sewing expert; a simple straight stitch will do the trick.
- Embellishments: This is your chance to get creative. Look for ribbon, buttons, or other decorative items that you can sew onto the pillow. These can transform your pillow from basic to chic.
In no time, you'll have a throw pillow that looks like it came from a high-end home decor store.
DIY Jewelry Holder
Now that we've spruced up your throw pillows, let's turn our attention to organizing your jewelry with a DIY holder made from dollar store finds. Don't underestimate the potential of items you can snag for just a buck or two. A ceramic plate, a candlestick, and some super glue are all you need to create a chic, multi-tiered jewelry holder.
Start by applying a thin layer of super glue to the top of the candlestick. Next, center the plate on top, press down gently, and give it a few minutes to dry. The result? A minimalistic stand that's perfect for displaying your favorite necklaces, bracelets, and earrings.
To add a little personal touch, consider painting the plate and candlestick before you glue them together. Metallic gold or a soft pastel shade will give your holder a high-end look without the high-end price tag.
Budget-friendly Table Centerpieces
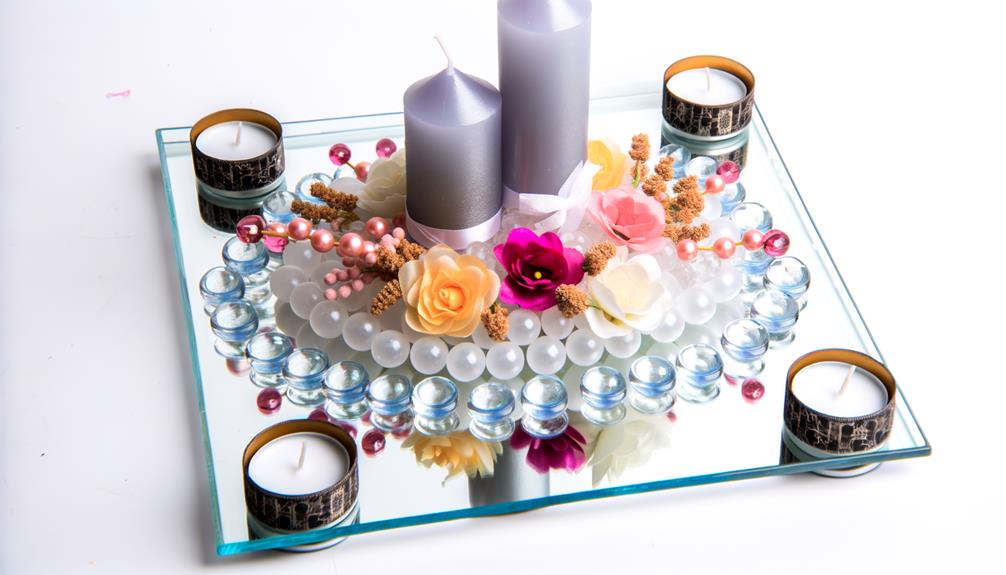
Shifting gears, let's dive into creating budget-friendly table centerpieces that'll add charm to any dining room. The beauty of these ideas is that they're easily customizable, allowing you to put a unique spin on each project.
Here's a numeric list of four dollar store centerpiece hacks:
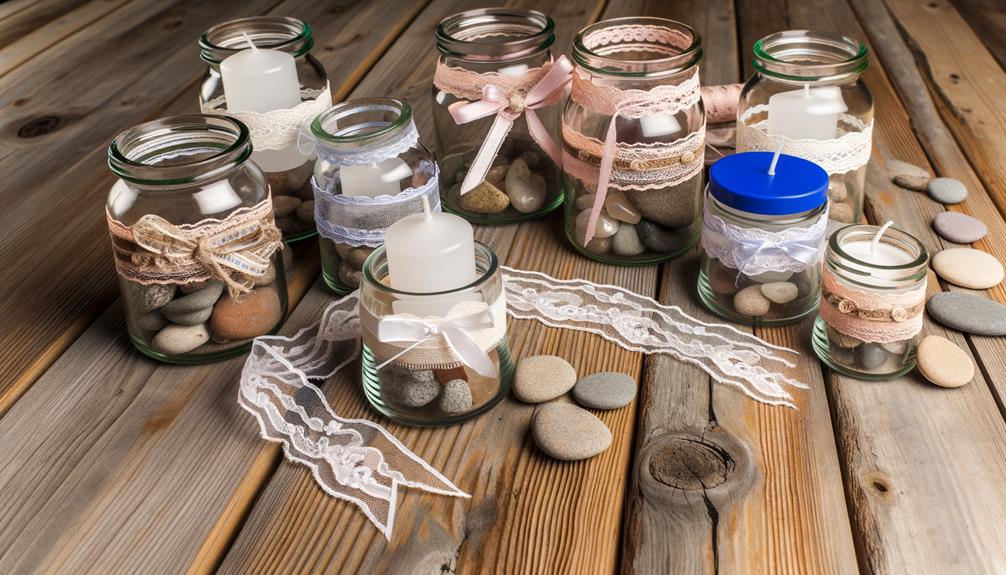
- Candlelight Centerpiece: Grab three different sized glass vases, fill them with sand, seashells, or colorful stones, then top with a tealight candle. Arrange them in the center of your table for a cozy, ambient touch.
- Floral Arrangement: Purchase a variety of faux flowers and a simple vase. Trim the stems to fit your vase, then arrange the flowers for a beautiful, lasting centerpiece.
- Fruit Bowl: Buy a stylish bowl and fill it with bright, artificial fruits for a fresh, vibrant centerpiece that won't spoil.
- Seasonal Display: Get creative with seasonal items like pinecones, decorative pumpkins, or ornaments. Display them in a clear bowl or tray for a centerpiece that celebrates the current season.
With these ideas, you can create stunning table centerpieces that won't break the bank. Remember, it's all about using what's available and adding your personal touch. Happy decorating!
Frequently Asked Questions
What Other Items Can I Find at the Dollar Store for Home Decor Projects?
You'll find a variety of items like picture frames, vases, candles, faux flowers, and mirrors. There's also crafting essentials such as glue, paint, and glitter. It's a goldmine for DIY home decor projects.
How Long Does It Typically Take to Complete These Dollar Store Decor Hacks?
It really depends on the project you're tackling. Some can be finished in an hour, while others could take a day. You'll find it's quite a fun process, so you won't mind the time spent.
Are There Any Safety Precautions to Consider While Doing These DIY Projects?
Yes, there are. You've got to be careful when using sharp objects or hot glue. Always protect your work surfaces and wear protective gear if necessary. Never let kids do these DIY projects unsupervised.
Can These Decor Hacks Be Used for Outdoor Decoration as Well?
Absolutely, you can use these hacks for outdoor decoration. It's all about being creative and using resources wisely. Just remember, some materials may not hold up well in extreme weather, so plan accordingly.
Are These Decor Hacks Suitable for Different Home Design Styles?
Absolutely, these hacks are adaptable for various home design styles. You're given the freedom to customize each piece to match your aesthetic. Country chic or modern minimalist, you'll find a hack that suits you.
Conclusion
So, there you have it! With these dollar store home decor hacks, you've got a world of budget-friendly, stylish options at your fingertips.
Don't let a tight budget hold back your creativity. From glass vase makeovers to DIY jewelry holders, every corner of your home can showcase your unique style.
Remember, it's not about how much you spend, but how you use what you've got. So go ahead, get crafty and give your living space that personal touch you've always wanted.


