

You've likely got that one piece of furniture at home that's seen better days, but you're not quite ready to part with it. Refinishing could be the answer you're looking for. It's not just about giving your beloved items a facelift, it's also an opportunity to put your stamp on them. Whether it's a rustic look you're after or a sleek, contemporary vibe, the options are limitless. And who knows, you might uncover a hidden passion for DIY along the way. Intrigued to find out more about the art of furniture refinishing?
Key Takeaways
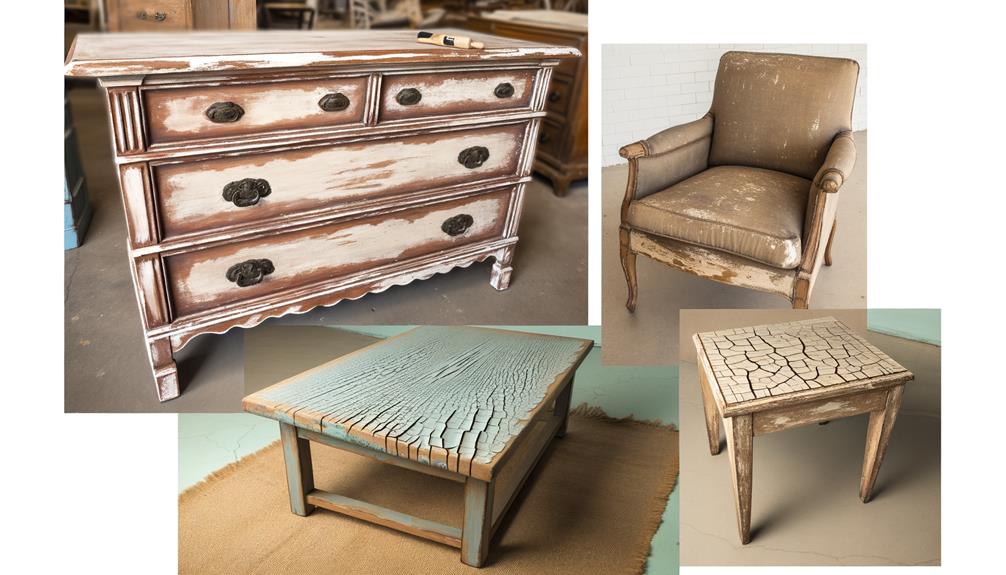
- Consider using chalk paint for a distressed, vintage look on your furniture.
- Decoupage technique allows you to personalize your furniture with paper cutouts for a unique design.
- Experiment with different staining techniques to enhance the natural beauty of the wood.
- Incorporate upholstery to refresh and add comfort to your furniture while matching your style and color scheme.
- Glazing can create an antique-like finish, adding depth and interest to your furniture.
Understanding Furniture Refinishing
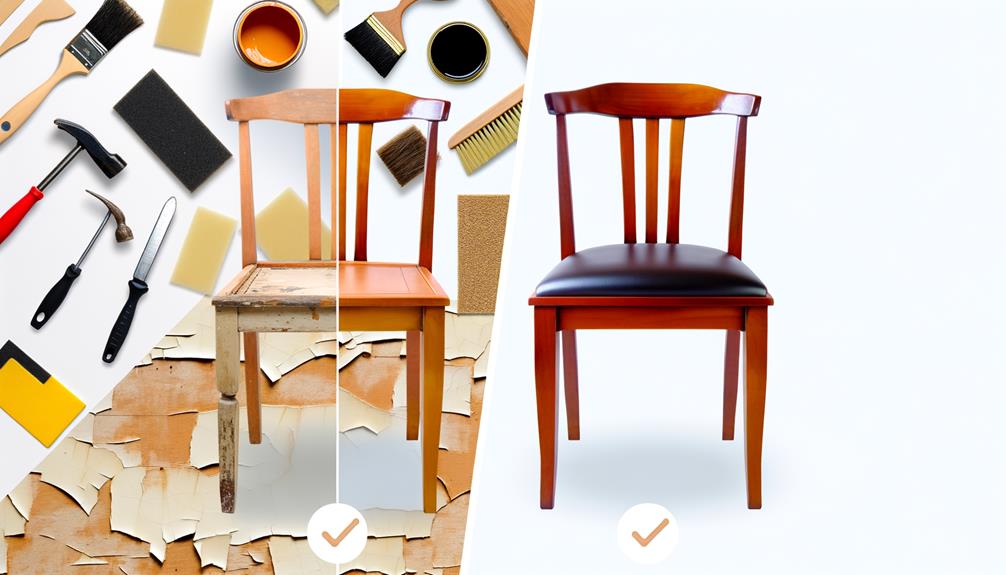
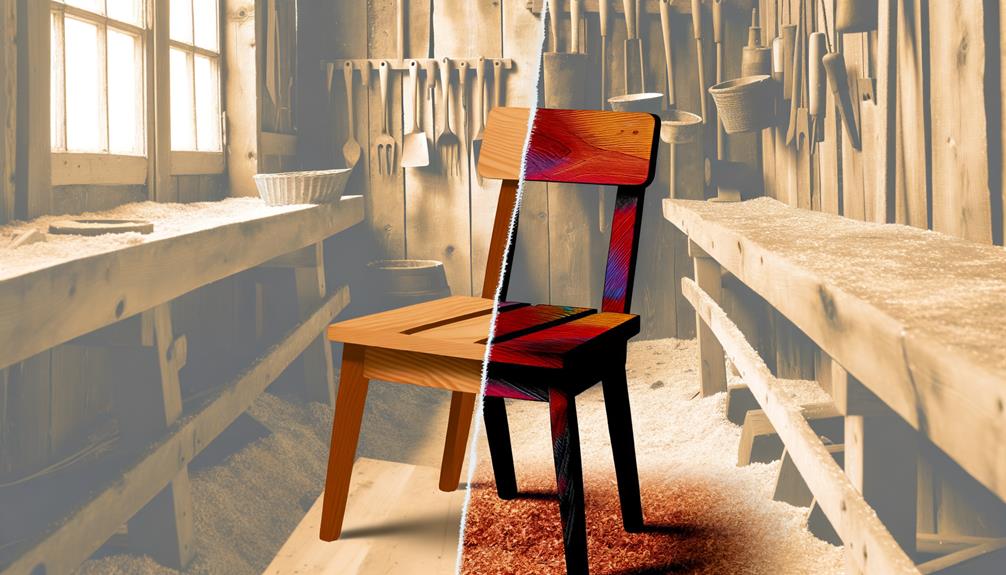
Diving into the art of furniture refinishing, you'll quickly discover it's more than just slapping on a fresh coat of paint; it's about restoring beauty and extending the life of your beloved pieces. It's also about embracing the cycle of change and growth, giving your furniture a new lease on life.
Understanding furniture refinishing means appreciating the original craftsmanship. You don't want to diminish the value of the piece by removing those charming signs of age and wear. Instead, you're enhancing its character, adding your personal touch while preserving its essence.
You'll learn to identify the type of wood, which plays a significant role in the refinishing process. Dark woods like mahogany and walnut require a different approach than light woods such as pine or oak.
Patience is key. It's not a quick-fix solution. Stripping off the old finish, sanding down to bare wood, applying the new finish, and then sealing it, all takes time. But when you step back and see the transformation, you'll realize it's worth it. In furniture refinishing, you're not just preserving a piece of furniture; you're preserving memories and extending their lifespan.
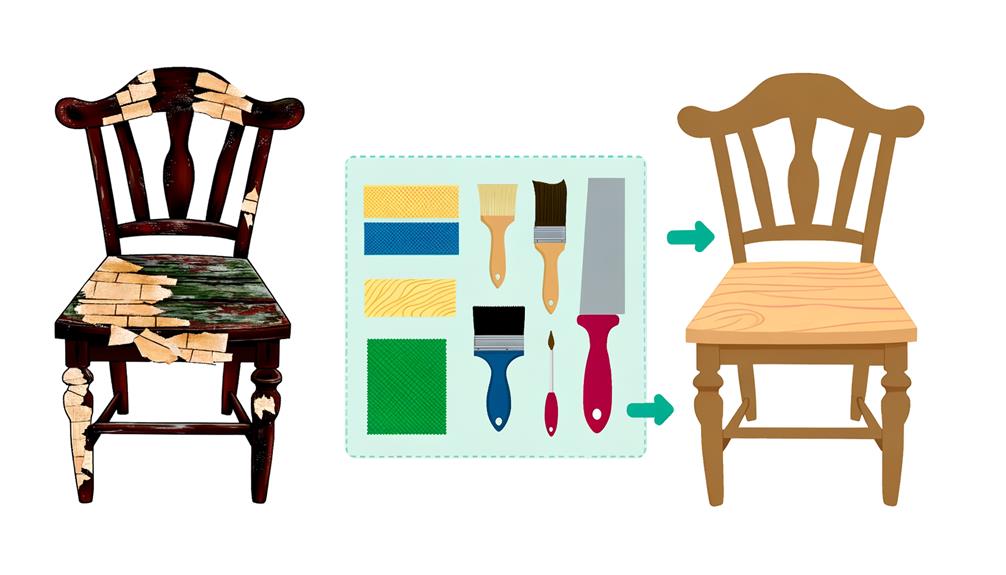
Essential Tools for Refinishing
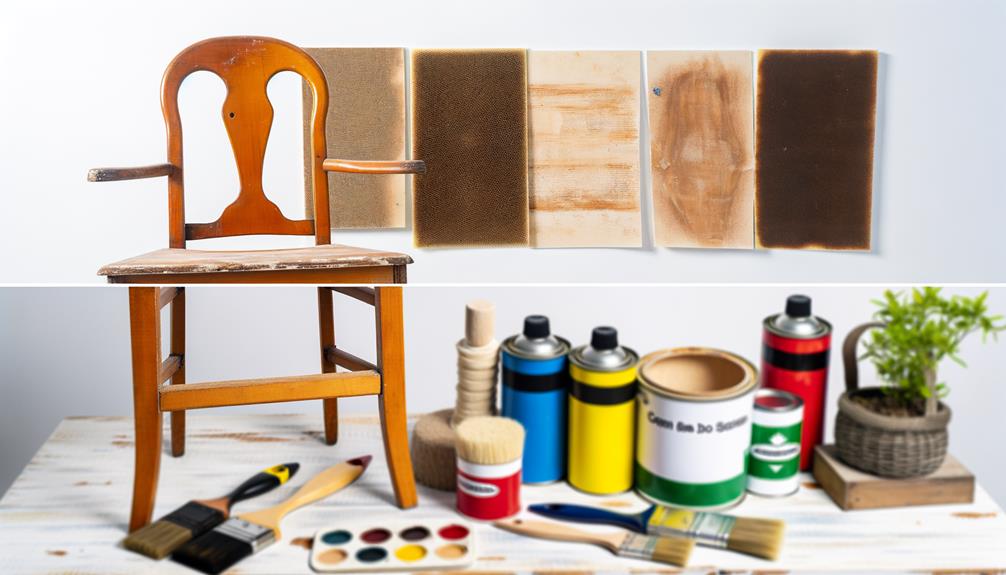
Before you embark on your furniture refinishing journey, it's essential to arm yourself with the right tools. Your toolbox should include a good quality paintbrush. It's your main weapon for applying stain or paint evenly. Don't skimp on this, a cheap brush won't do you any favors.
Next, you'll need a paint stripper to remove the old finish. Make sure to pick a non-toxic, eco-friendly one. Safety gear, including gloves and goggles, is a must to protect your skin and eyes from splashes.
A putty knife and scraper will help you remove stubborn paint and smooth out surfaces, while a set of screwdrivers will aid in disassembling and reassembling furniture pieces. A quality drop cloth is also crucial. It'll keep your workspace clean and prevent stain or paint spills from ruining your floor.
Lastly, don't forget a good set of clamps. These are essential for securing pieces while you work. Remember, it's not just about having the right tools, but understanding how to use them effectively. This set of tools will serve as the backbone of your refinishing project, setting the stage for success.
Choosing the Right Sandpaper
Now that you've assembled your toolbox, let's talk about the importance of selecting the right sandpaper for your furniture refinishing project. The type of sandpaper you choose can dramatically affect the finish and longevity of your piece.
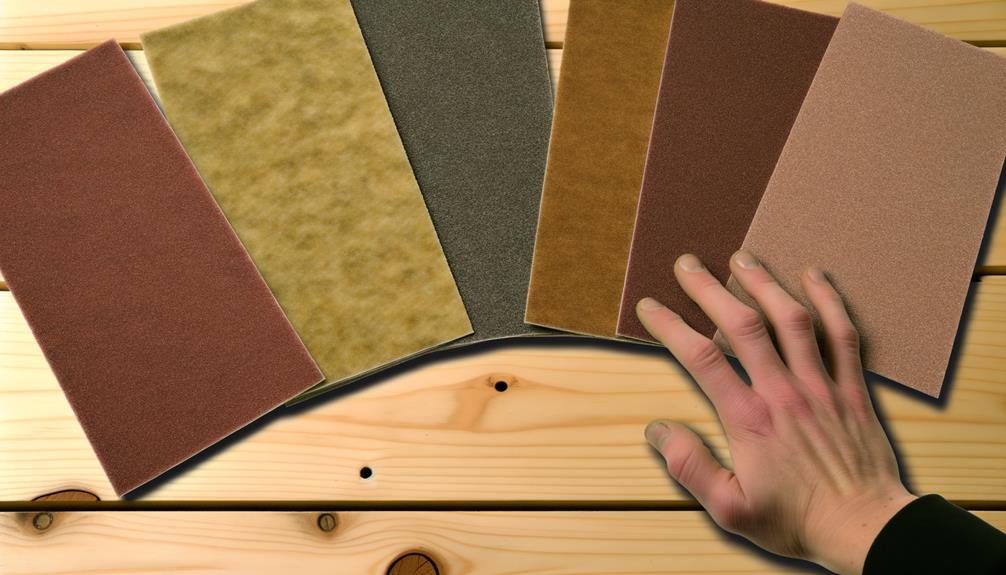
Sandpaper comes in different grits, ranging from coarse (low numbers like 40-60) to fine (high numbers like 150-220). Coarse sandpaper is great for removing old paint or varnish, and smoothing rough surfaces. However, it's not ideal for fine work as it can leave scratches.
On the other hand, medium grit sandpaper (80-120) is your go-to for most furniture refinishing tasks. It's rough enough to remove old finishes, yet smooth enough to not scratch the wood too much.
Finally, fine grit sandpaper (150-220 and above) is perfect for the finishing touches. It's used for smoothing the wood before applying the final finish, or between coats of paint or varnish.
Remember, always sand in the direction of the grain to avoid scratches that will show up when you apply the finish.
Choosing the right sandpaper is vital for your project's success. So, take your time, assess your furniture piece, and make an informed choice.
Safe Stripping Techniques
Once you've chosen the right sandpaper, it's time to master safe stripping techniques to effectively remove old paint or varnish from your furniture.
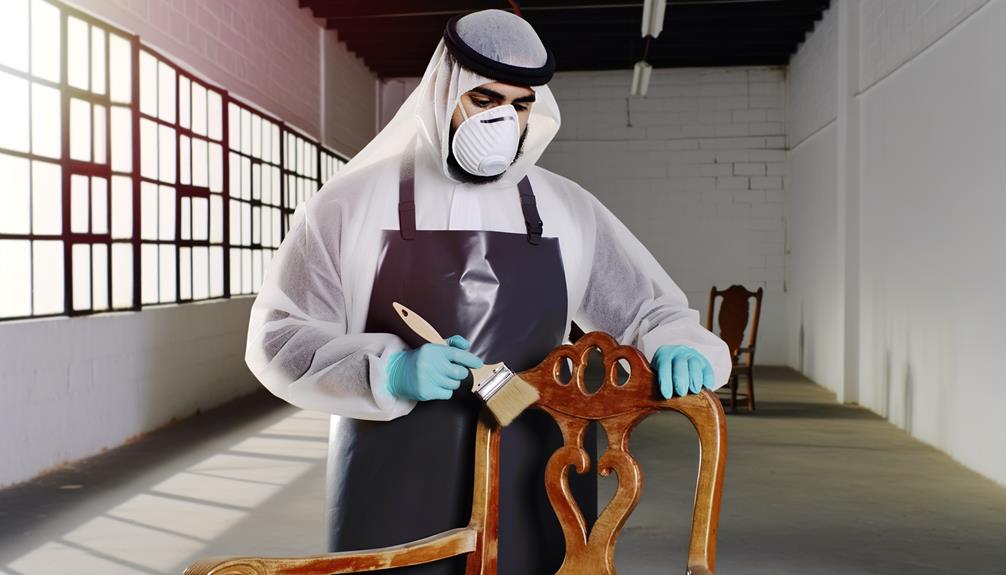
The first step is to don protective gear. Safety is paramount, so you'll need gloves, a mask, and goggles to protect your skin, lungs, and eyes from harmful chemicals.
Next, choose a well-ventilated area to work in. Some stripping solutions can release noxious fumes, so it's important to ensure adequate airflow. You can't be too careful when it comes to your health.
Now, you're ready to apply the stripper. Use a paintbrush to apply it evenly over the surface of your furniture. Remember, it's better to apply several thin coats than one thick one. After application, let the stripper do its work. You'll know it's ready when the finish begins to bubble up.
Primer Selection Guide
Having safely stripped your furniture, it's time to consider your primer options for the best possible refinishing results. The right primer will provide a solid foundation for the paint, ensuring a smooth, long-lasting finish.
- Oil-Based Primer: It's ideal for hardwoods because it penetrates the grain deeply, providing excellent adhesion for the topcoat. However, it's slower to dry and has a stronger odor than other types.
- Water-Based Primer: It's easy to clean up and dries quickly. It's also less odorous and provides a smooth finish, but it's not as durable as oil-based primers.
- Shellac Primer: It's the gold standard for blocking stains and preventing bleed-through from tannins or knots in the wood. But it's not easy to clean up and requires denatured alcohol.
- High-Build Primer: If your furniture has a lot of visible grain or imperfections, this thicker primer can fill in and smooth out the surface. It's a bit harder to work with, though.
Adding Character With Distressing
Infusing an aura of vintage charm into your newly refinished furniture, distressing can be a beautiful way to enhance its character. This technique involves intentionally marking and marring the surface of your furniture to simulate years of wear. It's a fantastic way to add depth and texture, making your piece look like a well-loved heirloom.
Before you start, make sure you've got the right tools. You'll need some sandpaper, a hammer, and maybe some chains – anything that can create marks and scratches. Consider how your furniture might naturally age. The edges and corners, for instance, would usually bear the brunt of wear and tear.
You'll start by lightly sanding the areas you want to distress. Don't overdo it, you want it to look natural. Next, you'll take your hammer or chains and start making your marks. This is your chance to be creative! Try different techniques until you find one you like.
Staining Vs Painting
After distressing your furniture, you're faced with the decision to either stain or paint it, each offering a unique finish and durability. Your choice depends on the look you're after and the use of the piece.
Let's delve into the differences:
- Staining: Staining allows the wood grain to show through, enhancing its natural beauty. It's a great choice if you're going for a rustic, natural look. However, stains don't provide as much protection as paint does, so you'll need to add a clear coat of varnish or polyurethane for protection.
- Painting: On the other hand, paint offers a wider range of colors and finishes. It covers grain patterns, offering a smoother, more uniform look. Paint also provides a protective layer, making it a good choice for heavily used pieces.
- Durability: Both stain and paint can last for years if applied correctly. However, paint usually lasts longer than stain, particularly in high-traffic areas.
- Maintenance: Painted furniture tends to require less maintenance than stained ones. Stained pieces may need to be re-stained or sealed over time to maintain their look.
Selecting the Perfect Paint
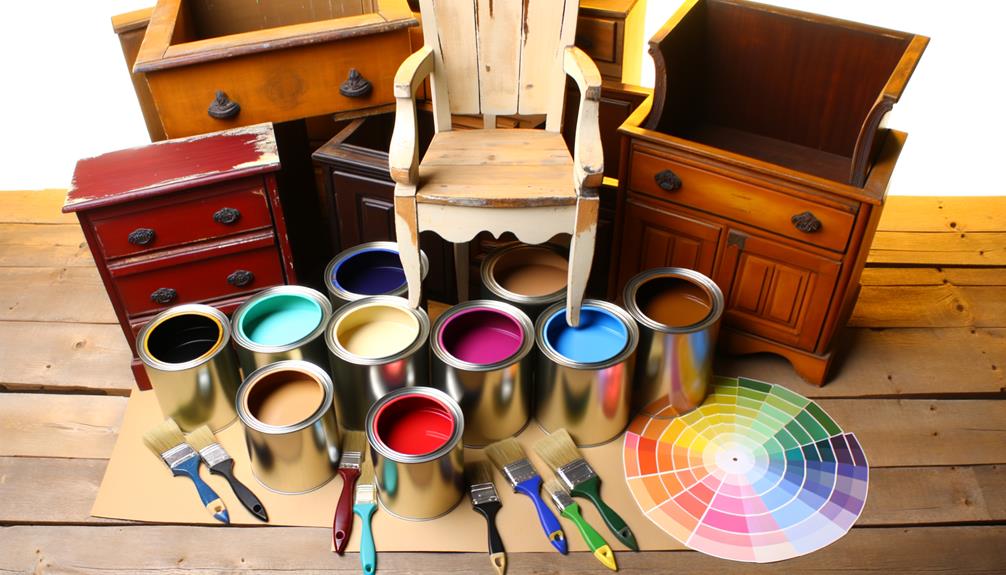
If you've decided on painting your furniture for its color flexibility and protective qualities, choosing the right paint becomes your next important step. You must consider the finish, durability, and overall aesthetic you're aiming for.
Firstly, decide on the paint's finish. Gloss, semi-gloss, or matte – each has its own appeal. Gloss and semi-gloss finishes are durable and easy to clean, making them perfect for high-traffic pieces like kitchen tables. Matte paint, on the other hand, offers a more subdued, classic look, best suited for pieces like dressers or side tables.
Secondly, don't skimp on quality. High-quality paint provides better coverage, lasts longer, and tends to be more durable. It's worth the extra investment to ensure your piece retains its look for years to come.
Lastly, think about color. This is where you can let your creativity shine. Consider the room's existing decor and choose a color that complements it. If you're feeling bold, go for a statement color. Remember, it's just paint. If you're not satisfied, you can always repaint.
Choosing the right paint is a crucial step in your refinishing journey. Make your selection carefully, and you'll be rewarded with a stunning piece of furniture that reflects your style and personality.
Mastering the Art of Staining
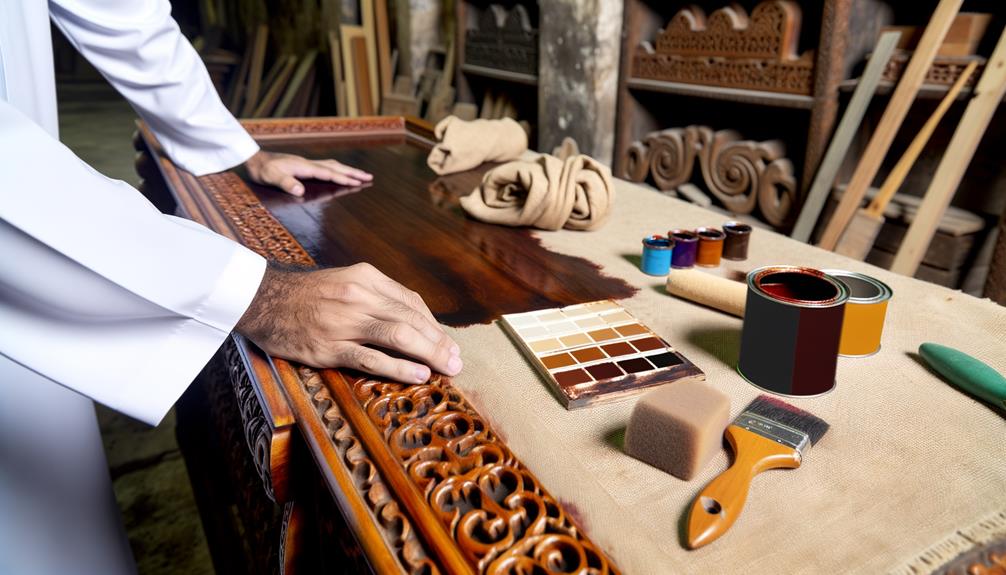
Diving into the realm of staining, you'll find it's an art that can deeply enhance the natural beauty of your furniture. It's not just about changing the color, but it's about highlighting the grain and texture of the wood, giving it a richer, deeper finish.
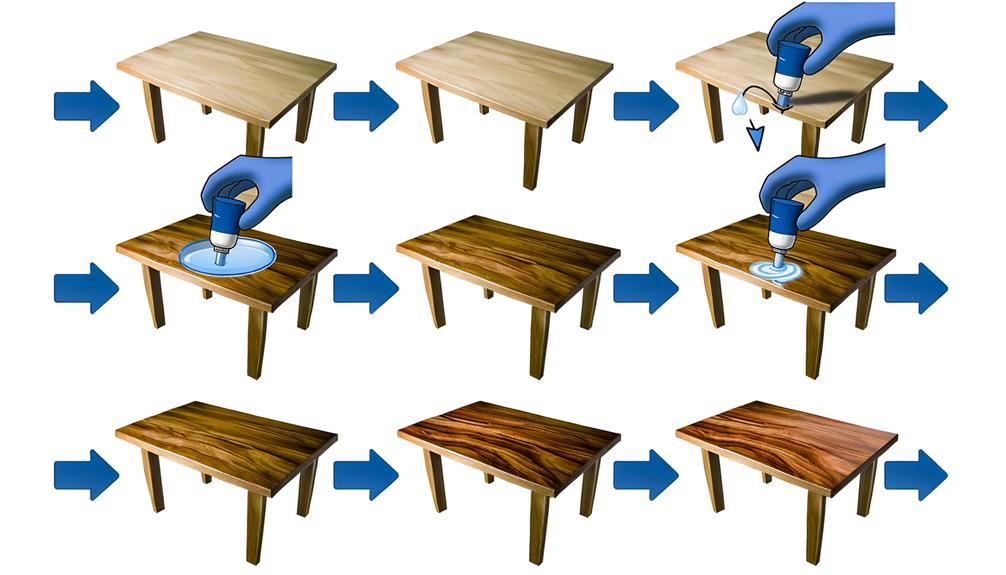
Here's a simple, four-step process to help you master this craft:
- Preparation: Start by thoroughly cleaning your furniture, removing any dust or grime. You'll need a clean surface for the stain to adhere properly.
- Sanding: Sand the furniture to even out the surface. Start with a coarse-grit sandpaper and gradually move to a finer grit. This will help the wood to absorb the stain evenly.
- Applying the Stain: Using a brush or rag, apply the stain in the direction of the grain. Make sure you apply it evenly. Let it sit for a few minutes before wiping off the excess.
- Sealing: Once the stain is completely dry, apply a coat of sealant to protect the stain and give your furniture a glossy finish.
Decoupage Furniture Ideas
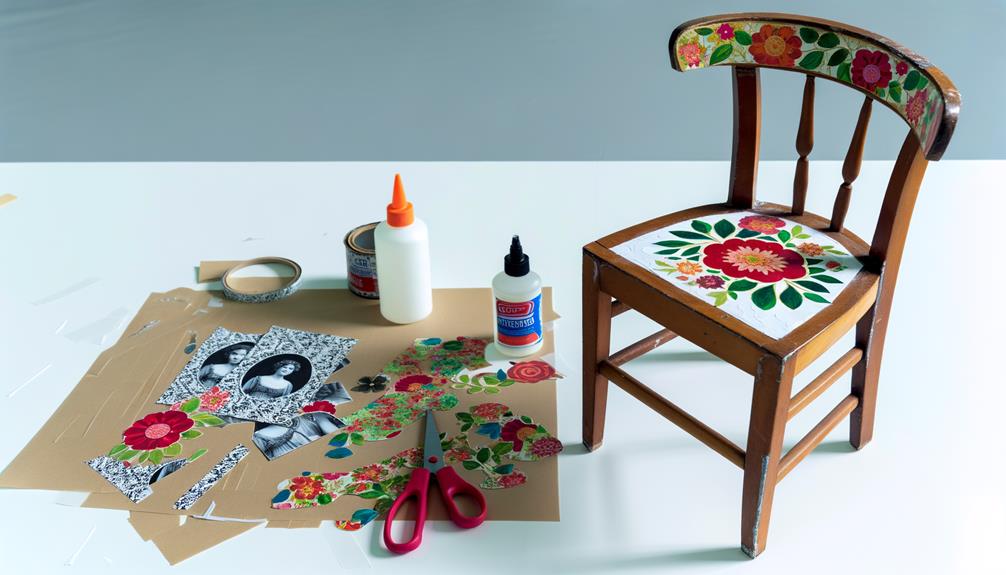
While mastering the art of staining can dramatically transform your piece of furniture, decoupage offers a creative way to give it a unique, personalized touch. It's an art that involves gluing paper cutouts onto an object and then coating with varnish or lacquer.
You'll need some basic supplies to get started: decoupage medium, a brush, a pair of scissors, and decorative paper. You can use napkins, wrapping paper, or even pages from old books. Whatever sparks your creativity!
Start by cleaning your furniture thoroughly. Once it's dry, apply a thin layer of decoupage medium on the area where you want to add your paper cutouts. Place your cutout on the wet surface, smoothing out any wrinkles or bubbles. Once it's dry, add another layer of medium on top to seal it.
Decoupage isn't just for wooden furniture. You can spruce up metal, glass, and plastic surfaces too. It's a fun and easy way to breathe new life into tired or outdated pieces. So go ahead, unleash your creativity, and start your decoupage project today!
Using Chalk Paint
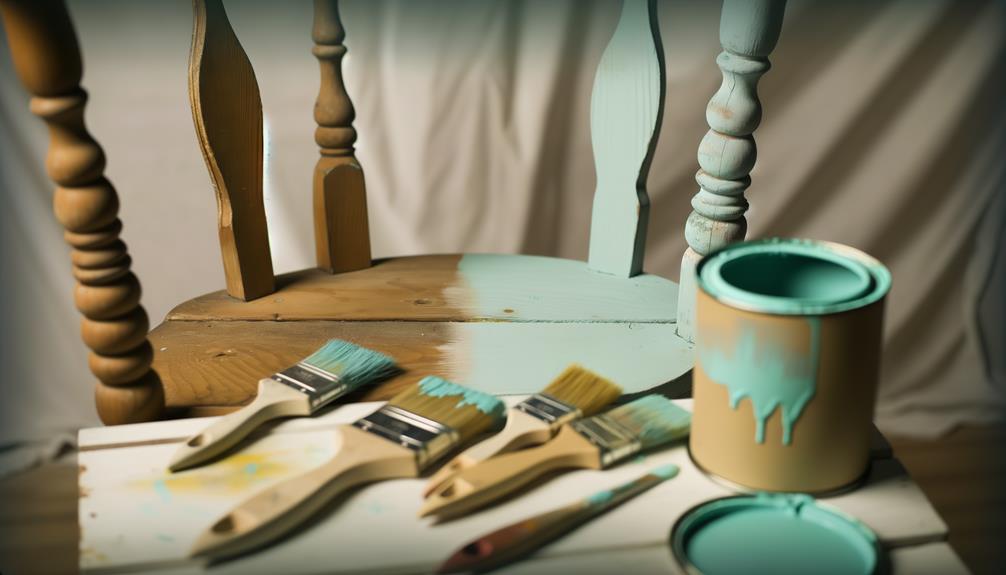
Let's move on to another fantastic idea for refinishing furniture – using chalk paint.
You'll start by preparing the furniture for painting. Then, you'll apply the chalk paint and learn some techniques for best results.
Preparing Furniture for Painting
Before you can transform that old, worn-out piece of furniture into a stunning masterpiece with chalk paint, you'll need to do some essential prep work. Here's a quick guide to help you get started:
- Clean Up: Start off by cleaning your furniture. Remove dust, dirt, and grime with a damp cloth. You'd be surprised how much difference a good clean can make.
- Repair Work: Look for any damages on the furniture. Fill in chips and cracks, fix loose joints, anything that needs mending.
- Sanding: Although chalk paint usually sticks well without it, a light sanding helps create a smoother finish. But, don't overdo it.
- Wipe Down: After sanding, wipe the furniture down with a damp cloth to remove any dust or residue before the paint application.
Application Techniques of Chalk Paint
Once your furniture is prepped and dust-free, it's time to delve into the art of applying chalk paint. You'll find it's quite simple.
Start by stirring your paint to ensure a smooth consistency. Then, dip your brush, ensuring it's not too soaked. Apply the paint in smooth, long strokes for an even finish.
Don't worry if the first coat looks streaky. Chalk paint's beauty lies in its ability to create depth and texture. After the first coat dries, apply a second one. This should cover any inconsistencies and leave you with a beautifully textured finish.
Practice makes perfect in this technique, so don't be discouraged if it doesn't come out perfect the first time. Keep at it and soon you'll be a pro.
Sealing and Finishing Touches
After applying your second coat of chalk paint and allowing it to dry, you're ready to seal your piece and add those finishing touches that will truly make it shine.
- Start by applying a coat of clear wax. Use a wax brush or a lint-free cloth, working the wax into the paint. This seals your piece, giving it a beautiful matte finish.
- Next, consider using a dark wax to highlight details. Apply sparingly, removing any excess with clear wax.
- For a distressed look, sand the edges lightly after your wax has dried.
- Finally, buff your piece with a clean cloth. This last step will give your piece the lustrous finish that chalk paint is famous for.
And there you have it! Your masterpiece is ready to wow.
Incorporating Upholstery
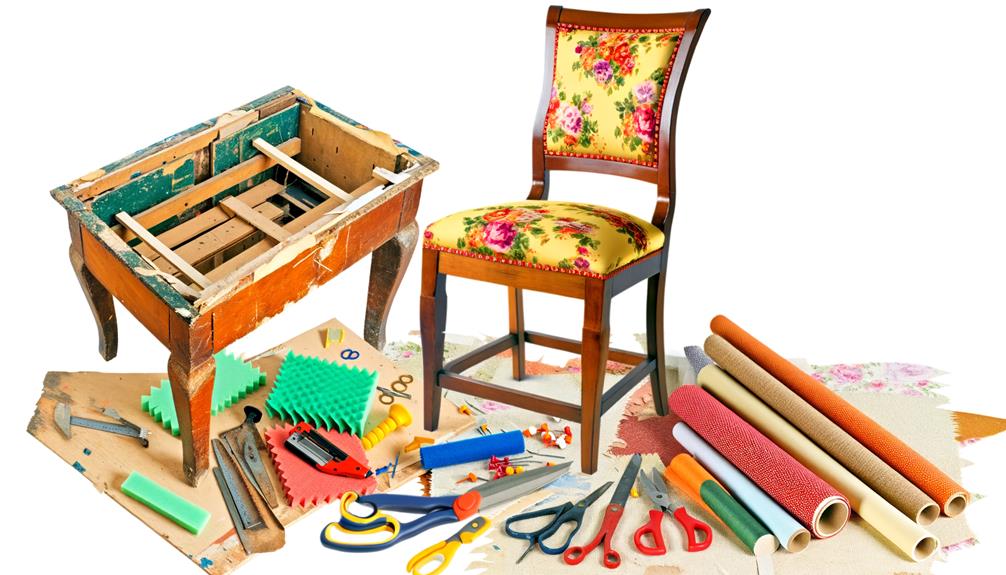
Now let's take a look at incorporating upholstery in your furniture refinishing projects. Choosing the right upholstery material can change the entire look and feel of your piece.
We'll also cover some effective cleaning techniques to keep your revamped furniture looking its best.
Choosing Right Upholstery Material
Selecting the perfect upholstery material is a key step in refinishing your furniture, as it can dramatically transform the look and feel of the piece. It's important to consider several factors before making a choice.
- Durability: Think about the use of the furniture. High-traffic pieces need sturdy, long-lasting materials like leather or cotton blends.
- Style: The fabric should complement the style and character of the furniture. Bold patterns can modernize an antique, while a classic textile might better suit a traditional piece.
- Color: Choose a color that fits with your room's decor. Remember, lighter colors can make a room feel larger, while darker hues create a cozy ambiance.
- Care: Some materials require more care than others. Don't select a high-maintenance fabric if you're not up for the upkeep.
Upholstery Cleaning Techniques
Once you've chosen your perfect upholstery material, it's essential to know the right cleaning techniques to keep it looking its best. Your first line of defense should be regular vacuuming. This removes dust and grime before it can become embedded in the fabric.
If stains occur, don't panic. Blot the spill immediately using a clean, dry cloth. Avoid rubbing as it can spread the stain deeper. For tougher stains, use a mild, water-based upholstery cleaner. Always test it on a hidden area first to ensure it won't damage the fabric.
Lastly, consider professional cleaning every few years. They'll deep clean your upholstery, removing dirt that's not visible to the naked eye. With these tips, your furniture will look great and last longer.
DIY Glazing Techniques
Diving into DIY glazing techniques can truly transform your furniture, giving it a unique, aged look with just a few simple steps. Glazing is all about adding depth to your furniture, accentuating the details and creating an antique-like finish.
To successfully glaze your furniture, you'll need to follow these four steps:
- Preparation: Clean your furniture thoroughly, removing any dust or grime. Once clean, apply a base coat of paint. This will act as a canvas for your glaze.
- Mixing the Glaze: You can buy pre-mixed glaze or make your own. If you're making it, mix one part dark-colored paint with one part glazing medium.
- Application: Using a brush, apply the glaze over the base coat, working it into the nooks and crannies of your furniture. Don't worry about being too neat; the beauty of glazing is in its imperfect charm.
- Wiping: After applying the glaze, use a soft cloth to wipe away excess, leaving it only in the areas you want to highlight.
In the end, you'll have a piece of furniture that's not just refurbished, but truly reinvented.
Sealing and Protecting Your Piece
After you've beautifully transformed your furniture with glazing, it's crucial to seal and protect your piece to maintain its new charm. Sealing is the finishing touch that can safeguard your hard work from wear and tear. Don't skip it, it's as important as the initial prep work.
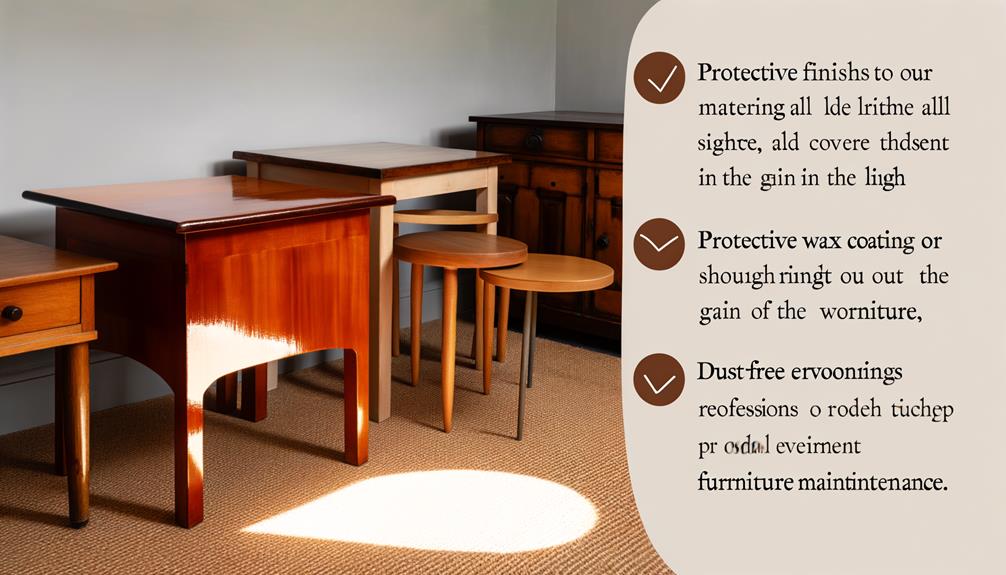
There's a variety of sealants you can use. The key is picking the right one for your project. Polyurethane is a popular choice. It's durable, water-resistant, and comes in different sheens from matte to glossy. It's great for high-traffic items like tables and chairs. Wax is another option. It gives a softer, hand-rubbed finish and is perfect for pieces with a vintage look.
Applying the sealant isn't tough. Always follow the manufacturer's directions, but generally you'll brush or wipe it on, let it dry, then lightly sand between coats. Remember, less is more. Too much sealant can lead to a gummy finish.
With the right sealant and application, you'll shield your furniture from damage, enhancing its longevity. Sealing and protecting your piece is the final step in the transformation process, so give it the attention it deserves. You'll be glad you did.
Tips for Maintaining Refinished Furniture
Now that you've refinished your furniture, it's crucial to maintain its new look.
Let's talk about effective cleaning techniques that won't harm your refinished piece.
We'll also cover some preventive care measures to ensure your furniture stands the test of time.
Proper Cleaning Techniques
To keep your refinished furniture looking its best, it's crucial to understand and apply proper cleaning techniques. Not only will this make your furniture shine, but it'll also extend its lifespan. Here's a step-by-step guide:
- Dust regularly: Use a soft cloth or feather duster to remove dust particles. Don't let them accumulate, as they may scratch the surface.
- Use mild cleaners: Avoid harsh chemicals that may damage the finish. Soap and warm water often suffice.
- Dry thoroughly: After cleaning, wipe the furniture dry with a soft towel. Water can warp wood and ruin the finish if left standing.
- Polish occasionally: Apply a high-quality furniture polish every few months. This helps keep the surface smooth and shiny.
Preventive Care Measures
While keeping your furniture clean plays a big part, it's just as important to take preventive measures to maintain the longevity and beauty of your refinished pieces. Avoid placing them in direct sunlight, as it can cause fading and discoloration.
Remember not to place hot or wet items directly on the surface, as they can leave marks. Use coasters and placemats to protect the finish. Regular dusting is also essential to prevent build-up that can scratch the finish.
When moving furniture, lift it rather than dragging to avoid damaging the legs or base. Lastly, apply a quality furniture wax annually to nourish the wood and keep it looking vibrant. Following these tips will ensure your refinished furniture lasts for years.
Frequently Asked Questions
Can I Refinish Furniture That Has Been Previously Varnished or Lacquered?
Absolutely, you can refinish furniture that's been varnished or lacquered. It'll require some extra work, such as sanding down the current finish and applying a new coat, but it's definitely doable.
How Long Does the Refinishing Process Typically Take?
The time it takes to refinish furniture can vary greatly. It depends on the piece's size, the complexity of the job, and your skill level. Typically, it could take anywhere from a few days to a week.
Are There Eco-Friendly Alternatives for Traditional Refinishing Products?
Yes, there are eco-friendly alternatives you can use. You'll find products like water-based stains, sealers, and finishes. They're less toxic, have less odor, and are better for the environment than traditional refinishing products.
Is It Necessary to Refinish Antique Furniture?
It's not always necessary to refinish antique furniture. If it's in good condition, you may choose to preserve its original finish. However, if it's damaged, refinishing could restore its beauty and value.
Can I Refinish Furniture Made From Different Types of Wood Together?
Yes, you can refinish furniture made from different types of wood together. However, it's important to note that different woods absorb stains at varying rates, which may affect the final look.
Conclusion
So, you're now armed with some great refinishing ideas. Remember, it's all about making the piece your own.
Whether you're sanding, stripping, priming, upholstering, glazing, or sealing, each step adds character.
And don't forget, maintaining your refinished piece is just as important as the transformation.
So go ahead, get started and let your creativity shine. Happy refinishing!


