You're keen on giving your bedroom a fresh look but don't want to splash out on expensive furniture, right? Well, there's a solution you might not have considered yet: crafting your own headboard. With a touch of creativity, ordinary materials like reclaimed wood, old doors, or even pallet boards can become an eye-catching centerpiece of your room. Paint techniques can add that extra flair, too. But how can you be certain it'll turn out well, and how do you even start? Stick around, and you'll soon discover how easy it can be to transform your bed into a unique masterpiece.
Reclaimed Wood Headboard

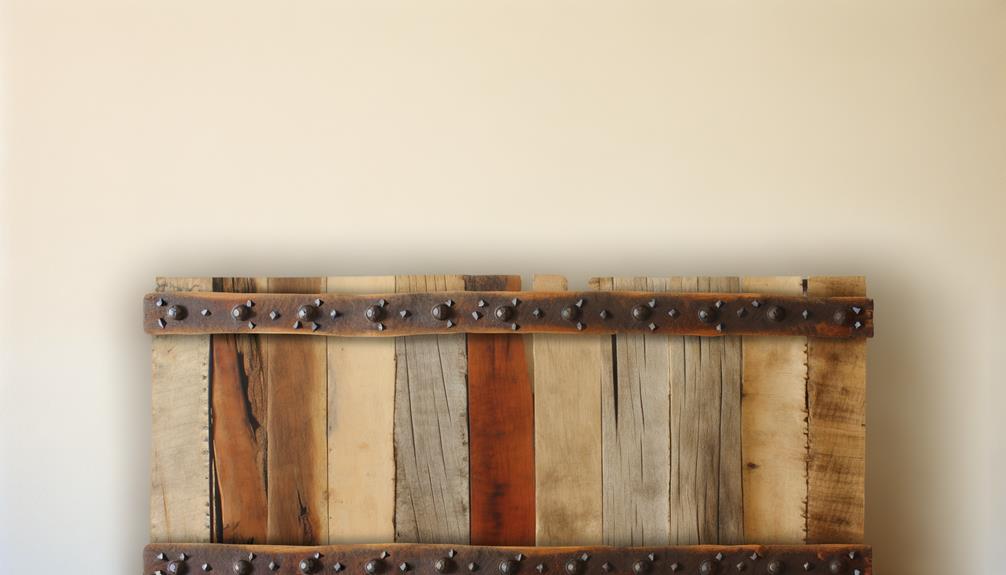
If you're a fan of rustic charm, creating a reclaimed wood headboard can add a unique and personal touch to your bedroom. This project isn't just about aesthetics though. It's also an opportunity to engage with sustainable sourcing and wood preservation techniques.
Sustainable sourcing means choosing wood that's been reclaimed or recycled, minimizing the demand for new timber. You're reducing waste and helping to conserve our forests. You can find this reclaimed wood at local salvage yards, or online at places like eBay or Craigslist.
Once you've sourced your wood, you'll want to preserve it so it lasts. Wood preservation techniques are vital to keep your headboard looking great and standing the test of time. You might think that reclaimed wood, being old, is already preserved. That's not necessarily the case. Wood can still rot, warp or become infested with pests. So, it's worth considering using a wood preservative, which you can apply yourself. It'll protect your wood against decay and insects, keeping your headboard looking its best for years to come.
In the end, you'll have a uniquely rustic headboard that's not only beautiful but also eco-friendly.
DIY Upholstered Headboard
Ready to take on a DIY upholstered headboard?
First, we'll talk about how to choose the perfect fabric for your project.
Then, we'll guide you through the assembly process, and wrap up with some final tips to ensure your upholstering goes smoothly.
Choosing Your Fabric
When it comes to creating your DIY upholstered headboard, selecting the right fabric can really set the tone for your bedroom. Fabric durability should be at the top of your list. You'd want to choose a hardy material, able to withstand daily wear and tear. Think along the lines of heavyweight cotton, canvas, or a synthetic blend.
Then there's color selection. This is where you get to express your personal style. Remember, your headboard is a focal point in your room, so the color should complement your overall decor. Consider neutral tones for a timeless look or go bold with vibrant hues. Ultimately, you're looking for a balance between durability and aesthetic appeal. It's your bedroom, make it count!
Assembling the Headboard
Now that you've picked out the perfect fabric, let's get down to the exciting part – putting together your DIY upholstered headboard. First, consider the headboard height. It should align with the top of your mattress, but you might want it taller for a dramatic effect. Once you've cut your wood to the desired height, it's time to attach your foam. Use spray adhesive for a secure bond.
Next, come attachment methods. You could either mount the headboard directly to the wall using brackets or attach it to your bed frame using bolts. For a freestanding headboard, create a sturdy base. Remember, safety first! So, ensure you're using the correct tools and screws.
Voila! You're one step closer to your dream bedroom.
Final Upholstering Tips
With your headboard structure in place, let's dive into some essential upholstering tips to give your DIY project a professional finish.
For starters, mastering a few basic stitching techniques will be invaluable. The slip stitch, for instance, is perfect for attaching fabric sections invisibly.
Next, consider your padding options. Foam is a popular choice due to its comfort and ease of use. However, don't overlook alternatives like polyester batting or even old blankets, which can be equally effective and budget-friendly.
Lastly, always remember to pull your fabric taut during the upholstering process. This ensures a smooth, wrinkle-free surface. Also, trim any excess material to prevent bulges and ensure a neat finish.
With these tips, you'll create a headboard that's both beautiful and unique.
DIY Bookshelf Headboard
Turning an ordinary headboard into a functional bookshelf isn't as tough as you might think. With a bit of creativity and some handy DIY skills, you can create a unique and practical piece that adds extra storage and a focal point to your bedroom. Not only will this help with bookshelf organization, but it can also bring literary themes into your decor.
Here are three simple steps to create your own DIY bookshelf headboard:
- Choose your design: Consider your space, style, and storage needs. Do you want a full-length bookshelf, or would a mini bookshelf suffice?
- Gather your materials: Depending on your design, you'll need wood, screws, a drill, and paint or stain. Always measure twice before cutting!
- Build and install: Follow your chosen design to build the bookshelf, then secure it to your bed or wall. Don't forget to add a finish for a polished look!
This DIY project won't only save you money, but it will also give you a unique piece of furniture that's sure to impress your guests. So, roll up your sleeves and get to work on your new DIY bookshelf headboard!
Pallet Board Headboard

You're ready to tackle the next project: a Pallet Board Headboard.
Let's start with choosing the perfect pallet boards, move on to the assembly process, and finish with those all-important final touches.
With a bit of creativity and effort, you'll have a rustic and unique headboard in no time.
Pallet Board Selection
Choosing the right pallet board for your headboard project can significantly impact the final look and durability of your DIY masterpiece. Pallet durability is a crucial factor, as you'll want a material that withstands the test of time. Pallet sourcing is also essential – you'll need to know where to find the best quality boards.
Here's a short guide to help you:
- Look for heat-treated pallets: These are safer and longer-lasting than chemically treated ones.
- Examine the pallets: Check for cracks, rot, or insect infestations. Quality pallets are free of these issues.
- Consider the wood type: Hardwoods like oak or maple are more durable and give a classier finish than softwoods.
Assembly Process
Now that you've selected your pallet boards, let's dive into the assembly process for your DIY headboard.
First, arrange the pallet boards in a pattern that suits your taste. Remember to consider material durability, as it'll ensure your headboard stands the test of time. Next, secure the boards together using a strong adhesive or screws.
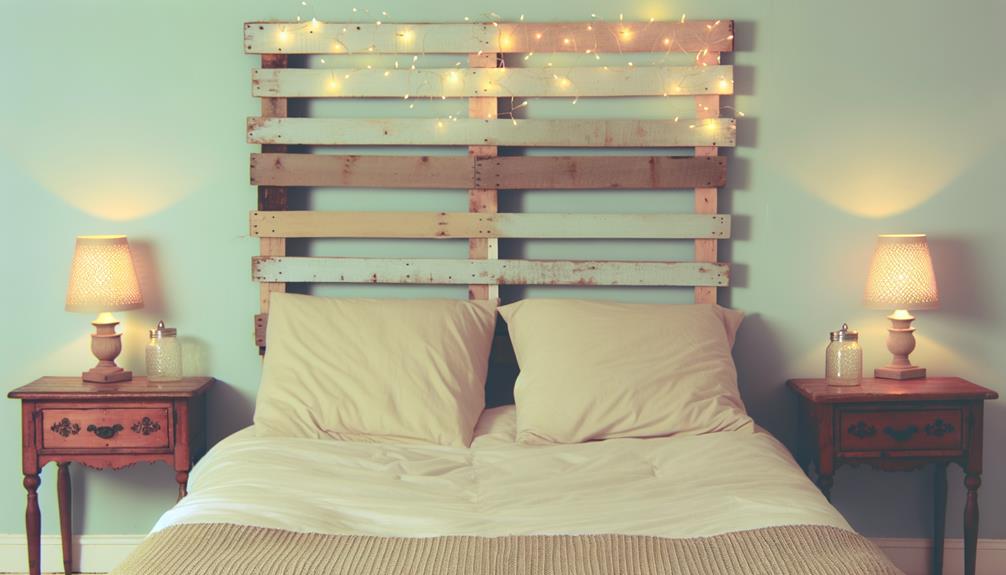
Consider adding headboard lighting for a cozy, bespoke touch. LED strips can be attached to the back or edges of the headboard. Ensure you've planned your wiring route carefully and that it's easily accessible for any future changes.
Always double-check your work. Make sure the boards are firmly attached, and the lighting works perfectly. The assembly process requires patience, but the end result is worth it.
Finishing Touches
With your pallet board headboard assembled and secured, it's time to add the finishing touches that'll truly make it your own. This is where your creativity comes into play.
- Lighting Enhancements: Use string lights or install small lamps to add a warm, cozy feel. They'll not only serve as reading lights but also highlight the texture and color of your pallet board headboard.
- Wall Decorations: Consider hanging paintings, photographs, or wall decals above your headboard. They'll contribute to the overall theme of your room and complement your DIY project.
- Personal Touches: From painting a stencil design to affixing a favorite quote, add elements that reflect your personality. Remember, it's your headboard; make it uniquely yours.
DIY Door Turned Headboard

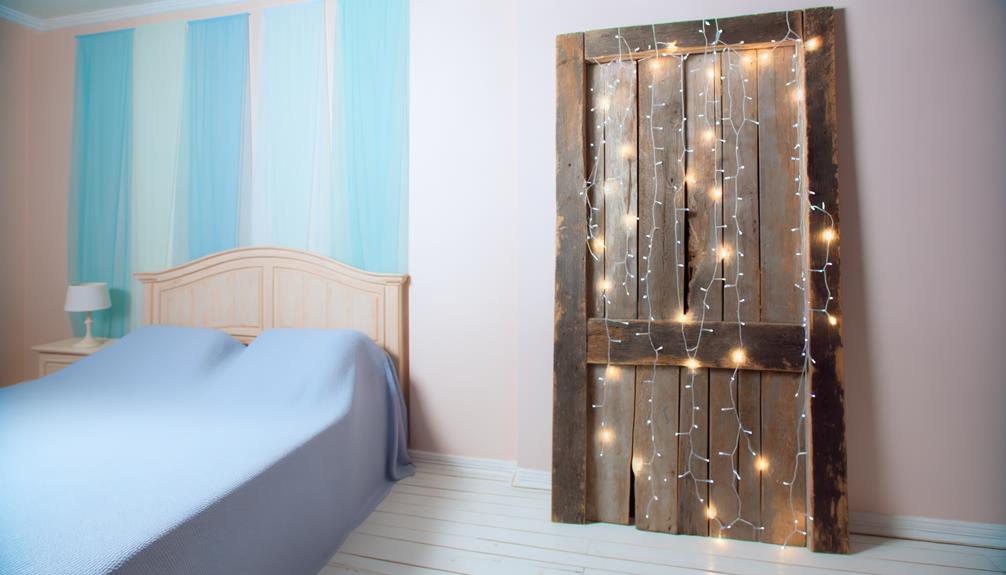
Repurposing an old door into a stylish headboard can add a unique touch to your bedroom's decor. It's a fantastic way to upcycle something you might otherwise discard, and it's a project you can tackle yourself, without spending a lot of cash.
First, you'll need to consider your door painting techniques. With the right approach, you can create a distressed, antique look, or a sleek, modern finish. Sanding the door first will help the paint adhere better and lead to a smoother finish. You can use a single color, or blend several for a unique effect. Don't be afraid to experiment to achieve the look you want.
Next, you'll need to think about hardware considerations. If you're aiming for a rustic look, you might want to leave the original hardware on the door. Alternatively, you can replace it with something more contemporary, or remove it entirely for a clean, minimalist look.
Lastly, you'll need to attach the door to your bed or wall. You can use brackets or build a simple frame for support. Remember to secure it safely, especially if you have children. This DIY project is a fun, affordable way to personalize your bedroom and make it truly your own.
Painted Wall Design as Headboard
If you're looking for a creative yet minimalistic approach to a headboard, try painting a unique design directly onto your bedroom wall. This concept allows you to showcase your artistic side and put a personal touch on your space. It's all about your stencil selection and color combinations.
Here's a quick guide to help you get started:
- Stencil Selection: Your first step is choosing a stencil. You can opt for geometric patterns for a modern look, floral designs for a soft, romantic feel, or even a city skyline for an urban vibe. Make sure the stencil matches the overall theme of your bedroom.
- Color Combinations: Next, decide on the color scheme. Consider the current colors of your room, from the walls to the furniture, and select shades that complement them. You could go for bold contrasts or subtle harmonies. Remember, it's your space, so it should reflect your taste.
- Execution: Lastly, tape your selected stencil on the wall where your headboard should be and start painting. Be patient, let your first coat dry before applying another.
Conclusion
So, there you have it – sprucing up your bedroom doesn't have to cost a fortune. With these cheap DIY headboard ideas, you can turn simple materials into stylish, personalized pieces.
Whether you're into the rustic charm of reclaimed wood or the convenience of a bookshelf headboard, there's a design for you. Just remember, it's all about expressing your style and creating a comfy retreat you'll love.
Now, go get creative!


