Ever thought of crafting your own furniture but don't know where to start? Don't worry, it's not as daunting as you might think. By mastering basic woodworking skills, you can create stunning, durable pieces that add personality and function to your space. We'll discuss the anatomy of furniture, must-have tools, and steps to build your first project. Imagine being able to showcase a coffee table or bookshelf that you've made with your own hands. Intrigued? Stick around, there's so much more to explore.
Understanding Furniture Anatomy

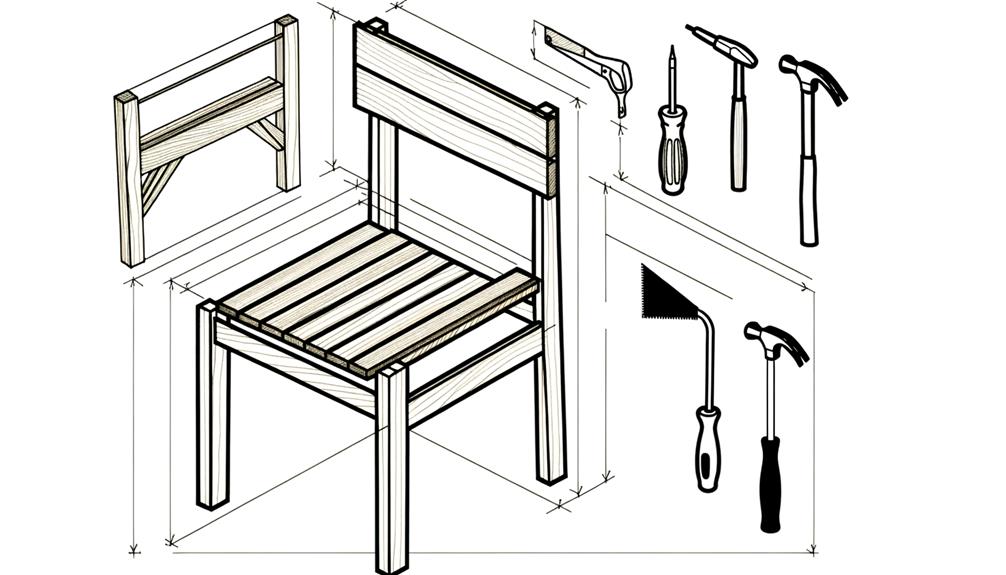
Let's dive right in and get a solid grasp on the fundamental parts of furniture, so you'll know exactly what you're working with. Understanding furniture anatomy is instrumental in any DIY project. It's akin to being a doctor – the better you know the body, the better you can diagnose and fix the problems.
You should start by delving into Furniture History. Knowing where furniture comes from helps you understand why it's designed the way it is. For example, did you know the concept of a chair was virtually non-existent in early civilizations? Most people sat on floors or benches. It was only till the Renaissance period that chairs became a household item.
Next on the list is the Upholstery Basics. This term refers to the materials used to cushion and cover furniture. Back in the day, upholstery consisted of animal hair, hay, or even straw. Nowadays, it's more about foam padding and fabric or leather covers.
Essential DIY Tools Overview
Before you start your DIY furniture projects, it's crucial to familiarize yourself with the essential tools you'll need.
Understanding basic tools and their functions can make your work easier and more efficient.
Understanding Basic DIY Tools
To kickstart your DIY furniture projects, you'll need to get a grasp on essential tools that'll make your work easier and more efficient. Understanding these tools involves more than just knowing their names and uses.
You also need to know about tool maintenance, ensuring they're always in top-notch condition. A well-maintained tool not only lasts longer but also performs tasks more efficiently.
It's also crucial to understand the safety precautions associated with each tool. Working safely is as important as the project itself. A minor oversight can lead to injuries, damaging not only your project but potentially your health.
Essential Tools for Beginners
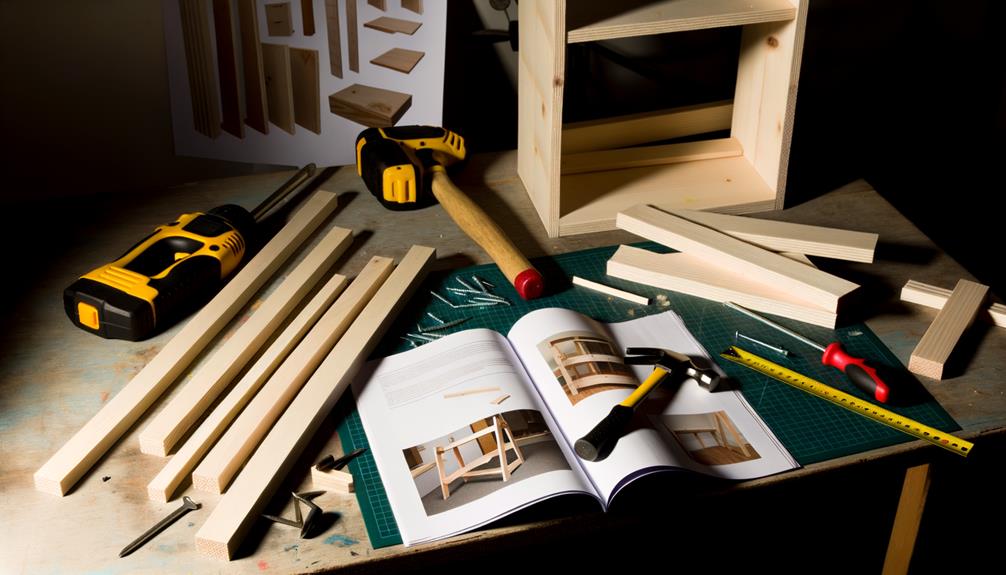
Now that you're familiar with tool maintenance and safety, it's time to delve into the essential DIY tools beginners should have in their arsenal. The first step is investing in a set of quality tools. Here's a brief list of the basic ones you'll need:
- Hammer: Fundamental for any DIY project. It's useful for driving in nails, breaking things apart, and, with a little finesse, can also be used for some delicate tasks.
- Screwdriver set: Get one with multiple heads, both flat and Phillips. You'll use these constantly.
- Tape Measure: Precision is vital in DIY projects. A good tape measure ensures you're cutting right.
- Pliers: Handy for gripping, bending, or cutting wires.
Designing Your First Project

Now that you're familiar with the essential tools, let's move on to designing your first project.
Choosing your design is the first step, and it's crucial to consider the material you're going to use.
Choosing Your Design
Before diving into your first DIY furniture project, you'll need to choose a design that matches your skill level and aesthetic preferences. Here are four steps to guide you:
- Seek Design Inspiration: Browse through furniture catalogs, websites, and home décor magazines for ideas.
- Identify Your Style: Define your aesthetic. Do you prefer modern lines, rustic charm, or vintage elegance?
- Match Skill Level: Choose a project that aligns with your abilities. Don't start with a complex dresser if you're a beginner.
- Consider Sustainable Sourcing: Choose designs that allow for the use of recycled or sustainably-sourced materials.
Material Considerations
Having chosen your design, it's important to think about the materials you'll use for your DIY furniture project. The materials you choose can greatly impact the overall look, strength, and durability of your piece. Consider sourcing sustainable materials, such as bamboo or reclaimed wood. These options aren't only eco-friendly but also lend a unique look to your project.
Incorporating recycled elements can also add a touch of creativity and individuality. Old metal pipes, for instance, can be used to create legs for a rustic table, while repurposed glass can be used for tabletops. Always remember, the key is to balance aesthetics and functionality without compromising on sustainability. It's a challenge, but it's definitely worth the effort.
Constructing a Coffee Table
Diving into the project, you'll find building your own coffee table simpler than it seems with the right tools and guidance. One exciting aspect of this project is table customization. You can tailor your table to your personal style, making it a unique piece that fits perfectly into your space.
Now, let's talk about sourcing wood, a critical first step. You can either reclaim wood from old furniture or purchase it from a local lumberyard. The choice depends on the look you're going for – reclaimed wood adds a rustic charm, while new wood offers a clean and modern vibe.
Here is a basic 4-step process in constructing your coffee table:
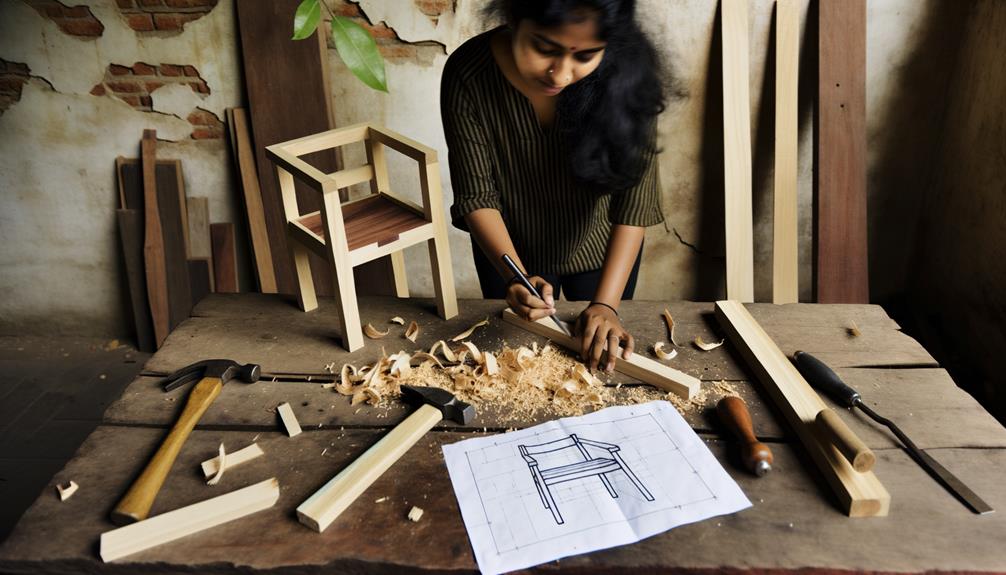
- Design your Table: Sketch your design, considering the size and shape that matches your space and style.
- Cut the Wood: Cut your sourced wood according to your design, ensuring all pieces are smooth and even.
- Assemble the Table: Join the pieces together using screws, nails, or wood glue. Make sure it's sturdy.
- Finish the Table: Apply paint or varnish for a polished look and to protect the wood.
With these steps, you're on your way to creating a piece of furniture you can be proud of!
Making a Simple Bookshelf

Just like the coffee table, creating your own bookshelf isn't as complicated as it may seem, especially when you have a clear, step-by-step process to guide you along.
The first thing you need to consider are your bookshelf dimensions. You've got to measure the space where you'll place your bookshelf. Ensure it fits perfectly, without blocking pathways or windows.
Next, gather your materials. You'll need some plywood, screws, sandpaper, and paint or stain. Once you've got everything, it's time to start cutting your wood according to the dimensions you've measured. Always double-check your measurements before cutting, you don't want mistakes here.
After your pieces are cut, it's time to assemble. Start by attaching the sides to the bottom piece, then add the top. Once that's done, you can add your shelves. Be sure to space them evenly for a clean, balanced look.
Once your bookshelf is assembled and secured, it's time for the fun part – shelf styling. This is where you can let your creativity shine. Try grouping books by color, or mix in some decorative items for visual interest. Remember, it's your bookshelf, so style it how you like!
Crafting a Rustic Nightstand
Now, let's move on to crafting a rustic nightstand that will add a touch of charm to your bedroom. This project might seem daunting, but don't worry, you've got this!
Here's a four-step guide to help you out:
- Start with the Basics:
First, you'll need to gather your materials. This includes wood, screws, sandpaper, and a saw. Remember, choosing hardware elements is crucial for the overall look and functionality of your nightstand.
- Design Your Nightstand:
Draw up a plan for your nightstand. Consider the size, shape, and how you'll incorporate storage options like drawers or shelves.
- Cut and Assemble:
Cut your wood according to your design and start assembling. Make sure everything is square and stable.
- Add the Details:
This is where your nightstand starts to look rustic. Consider adding elements like a distressed finish or antique hardware.
Final Touches: Painting and Finishing

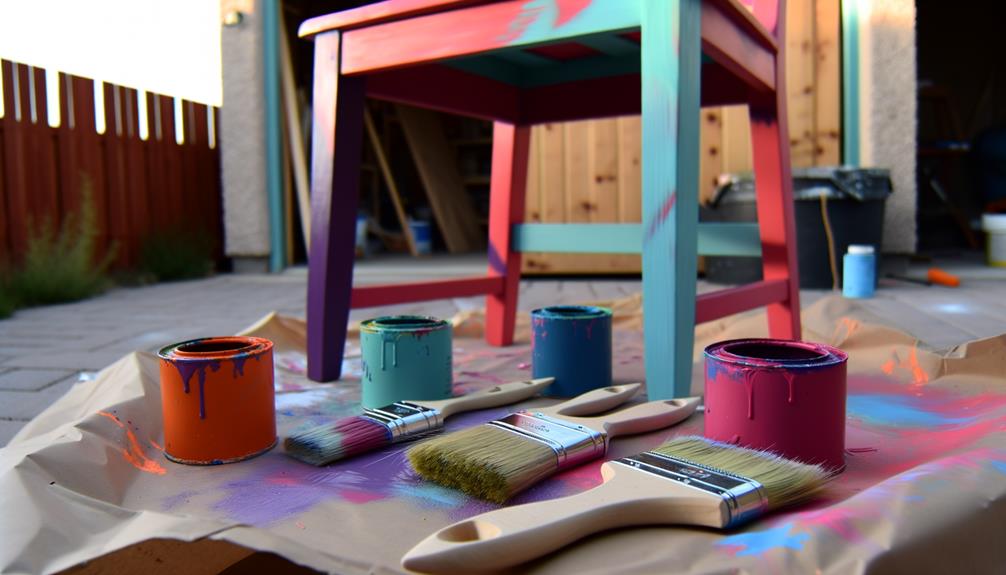
Once your rustic nightstand is assembled, it's time to bring your vision to life with paint and finish. The paint job can dramatically alter the look of your project. Here are some color selection tips to guide you in this crucial step. Consider the room where the nightstand will reside. What color palette dominates the space? It's best to opt for a hue that complements your room's existing décor. Light colors can make your nightstand appear larger, while dark colors offer a sleek, modern feel.
Next, let's talk about surface preparation methods. Start by cleaning your piece thoroughly. Remove any dust or grime as it can affect the final finish. Sand the surfaces lightly to remove any imperfections and to help the paint adhere better. Wipe it down again to remove any sanding debris.
Choose your paint type wisely. If you're going for a distressed look, chalk paint is a fantastic option. For a smooth, glossy finish, try latex paint. Once your paint is dry, apply a protective finish to seal your project and ensure its longevity. With these final touches, your DIY nightstand won't only be functional but also a beautiful addition to your room.
Conclusion
You've made it! With a grasp of furniture anatomy, the right tools, and your first projects under your belt, you're well on your way in the DIY furniture world.
Whether it's a sleek coffee table, a sturdy bookshelf, or a rustic nightstand, you've shown you can create fantastic pieces.
Now, with painting and finishing techniques up your sleeve, there's no stopping your creativity. Keep honing your skills, and remember, every masterpiece starts with a single piece of wood.


