You've decided to revamp your space with peel and stick wallpaper, haven't you? It's a practical choice, offering an easy, less messy alternative to traditional wallpapers. But there's more to it than just peeling and sticking. From selecting the perfect design to prepping your wall, measuring, cutting, and even maintaining your wallpaper – there's a technique to each step. But don't worry, it's not as daunting as it might seem and you'll soon see why it's worth exploring further.
Understanding Peel and Stick Wallpaper

Peel and stick wallpaper is a user-friendly option that lets you revamp your space without the mess or commitment of traditional wallpaper. It's an alternative you'd be smart to consider, especially if you're someone who enjoys changing up your home's aesthetic regularly.
Let's talk about wallpaper longevity. One of the great things about peel and stick wallpaper is that it's durable and long-lasting. If you're worried about it peeling off or losing its charm over time, don't be. It's designed to withstand the test of time and to stay vibrant and fresh. Plus, it's easy to clean and maintain, which adds to its lifespan.
Now, onto cost effectiveness. You might be thinking that this all sounds great, but what's the catch? Surprisingly, there isn't one. Peel and stick wallpaper is generally more economical than traditional wallpaper. You won't need to hire a professional for installation, saving you even more money. Plus, the ability to easily switch it out means you won't have to invest in new decor each time you want a change.
In short, peel and stick wallpaper is a savvy choice for the modern homeowner.
Tools Needed for Installation
Before you begin installing your peel and stick wallpaper, you'll need a few key tools to ensure a smooth and successful application. Tool selection is crucial and ensures you complete the task efficiently without damaging your walls or the wallpaper.
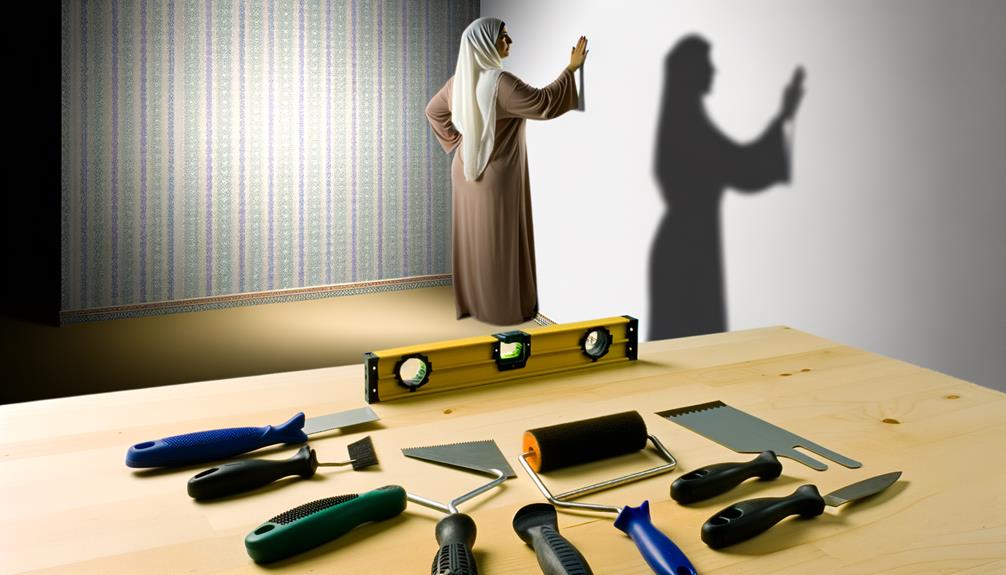
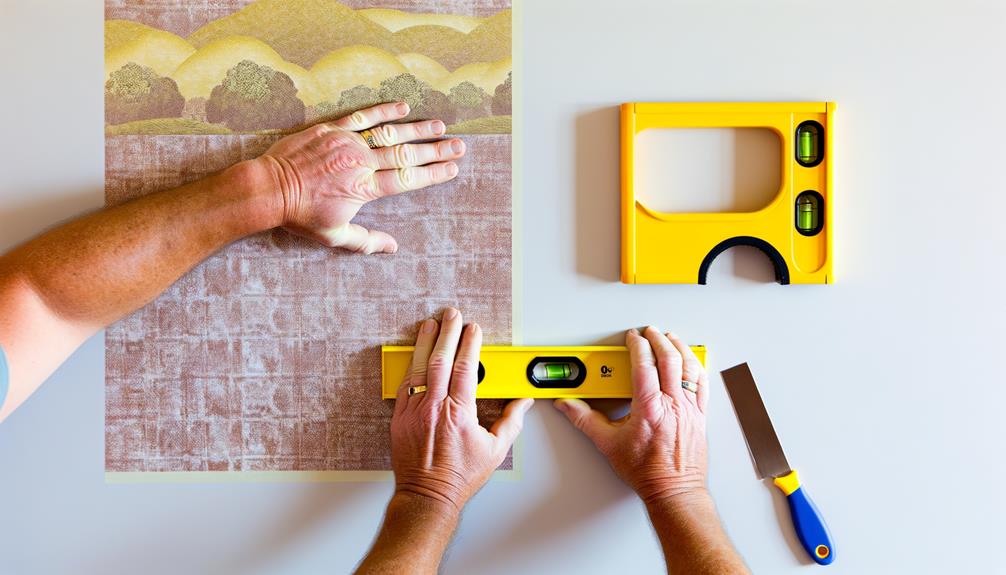
At the top of your list should be a sharp utility knife. You'll use this to trim excess wallpaper, ensuring a clean and professional finish. Next up, a smoothing tool. This is vital in preventing air bubbles and ensuring the wallpaper adheres correctly to the wall. A level is also important, particularly for patterned wallpapers, to make sure your application is straight.
Don't forget a measuring tape. Accurate measurements are key to avoiding wastage and ensuring you cut the right amount of wallpaper for each section of your wall. Lastly, a step ladder may be necessary, depending on the height of your walls.
Prepping Your Wall Surface

Before you get started with your peel and stick wallpaper, it's essential to properly prep your wall surface.
First, you'll need to ensure your wall is clean and smooth, checking for any irregularities that could affect the wallpaper's adhesion.
Lastly, we'll touch on the basics of priming your wall to provide a suitable surface for your new wallpaper.
Cleaning Your Wall
To ensure optimal adhesion for your peel and stick wallpaper, you'll need to clean your wall thoroughly. This step is crucial as it directly impacts wall paint compatibility. Any grime or dust can create a barrier between the adhesive and the wall paint, causing your wallpaper to peel off prematurely.
Begin by dusting off your walls with a clean, dry cloth to prevent dust accumulation. This removes any loose particles that might interfere with the adhesion process. Next, wash the wall with a mild detergent and warm water, then let it dry completely. Remember, a clean wall means stronger adherence for your wallpaper.
Checking Wall Surface
Once your wall is spotlessly clean and dry, it's essential to check the surface for any imperfections that could affect the wallpaper's adherence. You'll need to pay close attention to the surface texture, as this can influence how well the wallpaper sticks. A smooth, flat surface is ideal.
Look for wall imperfections like dents, bumps, or cracks. These can disrupt the smooth application of the peel and stick wallpaper and lead to uneven results. Use a level to ensure the wall is straight, as any slants or curves could cause problems too. If you find any issues, you'll need to address these before proceeding.
Wall Priming Essentials
After checking for and addressing any wall imperfections, it's crucial to prime your wall – a step you shouldn't skip if you're aiming for flawless wallpaper application. Your choice of priming material greatly influences the longevity of your wallpaper.
An acrylic primer is a good option as it creates a smooth, sealed surface for the wallpaper to adhere to. It's easy to apply and dries quickly. Alternatively, you can use an oil-based primer, known for its durability. Regardless of your choice, ensure it's evenly applied to avoid bumps and irregularities.
Choosing the Right Design

With a myriad of peel and stick wallpaper designs available, it's vital to choose one that complements your room's aesthetics and reflects your personal style. You should take into account the color significance and pattern selection when deciding on the perfect design.
Colors play a crucial role in setting the mood and tone of a room. Warm colors like red, orange, and yellow can make a space feel cozy and vibrant, while cool colors like blue, green, and violet create a calm and soothing atmosphere. Be sure to choose a color scheme that suits the room's purpose and your personal taste.
Pattern selection is equally important. Larger patterns can make a small room appear bigger, while smaller patterns add detail and texture without overwhelming the space. Geometric patterns may give your room a modern and sleek look, whereas floral or organic patterns can create a romantic, vintage appeal.
Don't be afraid to express yourself through the wallpaper design. After all, it's your space, and it should reflect your personality and style. Just remember, whatever you choose, it should complement the room and make you feel at home.
Measuring and Cutting Wallpaper
Now that you've picked out the perfect design, it's time to measure and cut your peel and stick wallpaper for a perfect fit. This step is crucial to ensuring pattern matching and wallpaper longevity.
First, measure the width and height of your wall. Don't forget to account for windows, doors, or outlets. Next, unroll your wallpaper and mark the measurements. It's essential to leave extra inches for adjustments.
Pattern matching is the next part. Make sure the design aligns perfectly from strip to strip. This might require extra wallpaper, so always order more than you've measured.
When it comes to cutting, you've got two options. You can cut the wallpaper before applying it to the wall or after it's up. The first method is less messy, but the second allows for last-minute adjustments.
Your wallpaper longevity depends on how well you measure and cut. Accurate measurements and clean cuts will ensure your wallpaper doesn't peel off prematurely.
Applying the Wallpaper

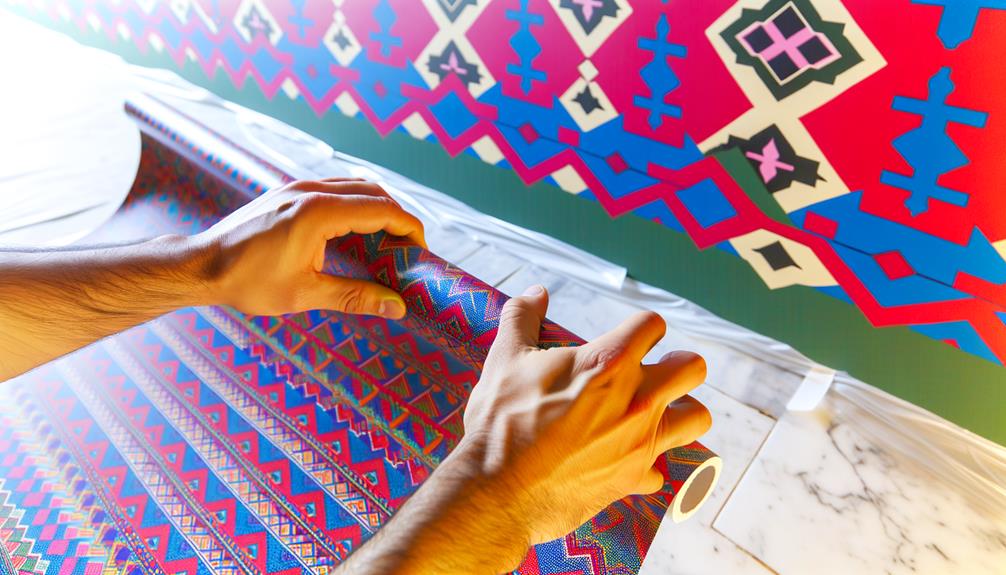
Once you've meticulously measured and cut the wallpaper, it's time to delve into the most exciting part – applying it to your walls. Begin at the corner of the room or the edge of the wall. Peel off the backing paper from one corner of the wallpaper, but don't remove it entirely. You'll want to peel and stick gradually, aligning the wallpaper patterns as you go to maintain room aesthetics.
If you're working with a pattern, it's crucial to ensure the design aligns correctly from one strip to the next. Misaligned patterns can disrupt the room's visual harmony and detract from the overall aesthetic. If you're unsure about alignment, it's better to peel off and reapply the wallpaper than to live with a crooked pattern.
Smoothing and Adjusting
After applying the wallpaper, you'll need to smooth out any bubbles and adjust any misalignments to achieve a flawless finish. Wallpaper bubbling is a common issue that can ruin the look of your newly installed peel and stick wallpaper. To combat this, use a wallpaper smoother or a dry soft cloth, and gently glide it over the surface from the center outwards. This will help push out any trapped air bubbles towards the edge.
If you notice that the wallpaper pattern is off, don't panic. Pattern alignment is still possible post-application with peel and stick wallpaper. Carefully peel back the section that's off, realign, and then re-stick it. Remember, it's easier to adjust a small area than to peel off a large one.
Avoid rushing this step. Take the time to ensure every edge is adhered properly and every pattern is aligned. This step can be time-consuming, but it's crucial for achieving a professional-looking finish. Keep in mind, the beauty of peel and stick wallpaper lies in its flexibility and forgivability. With patience and careful adjustments, you'll end up with a beautiful, bubble-free wall.
Handling Corners and Outlets
Now, let's tackle the trickier parts of the process: corners and outlets.
You'll find corners can be a test of your patience, but with the right approach, you'll manage them with ease.
As for outlets, navigating around them can seem daunting, but don't worry, we've got some tips for you.
Managing Wallpaper Corners
When you're tackling corners with your peel and stick wallpaper, it's crucial to handle them with extra care to ensure a seamless finish. Corner alignment is key in this process. Start by aligning the wallpaper's design with the corner's edge. Then, press the paper into the corner using a wallpaper smoothing tool to avoid air bubbles.
Now, onto wrapping techniques. You'll want to wrap the wallpaper around the corner, not cut it. This allows for a continuous pattern and a smoother finish. Slowly peel off the backing as you press the paper onto the surface, smoothing as you go. However, avoid overstretching the wallpaper as it could distort the pattern. With patience and precision, you'll have a perfectly wallpapered corner.
Navigating Around Outlets
So, how do you handle outlets while applying peel and stick wallpaper? It's a bit tricky, but with the right steps, you'll navigate this hurdle easily.
- Outlet Safety: First, turn off power to the outlets from the circuit breaker. This is a crucial safety step you can't afford to skip.
- Measuring: Use a tape measure to correctly size your wallpaper around the outlets. Precision is key here.
- Cutting: Using a utility knife, cut the wallpaper that will go around the outlet. Remember, it's better to cut a little extra than not enough.
- Outlet Cover Designs: Once your wallpaper is up, consider unique outlet cover designs that can blend or stand out on your new wall.
In no time, you'll have mastered this task!
Maintaining Your Wallpaper
Keeping your peel and stick wallpaper looking fresh and new requires regular maintenance. This isn't just about aesthetics; it's also about extending your wallpaper's longevity and preventing damage.
The key to wallpaper longevity is regular cleaning. Dust and dirt don't just dull your wallpaper's appearance; they can also cause it to peel prematurely. Use a soft, damp cloth to gently wipe down your wallpaper every few weeks. Avoid using harsh chemicals or abrasive tools, which can cause damage.
Damage prevention is another important aspect of maintenance. Be mindful of where you're placing furniture and other objects that could potentially scratch or tear your wallpaper. If you notice any small tears or bubbles, address them immediately to prevent them from getting worse.
A bit of maintenance can go a long way in keeping your peel and stick wallpaper looking its best. So, make it a habit to regularly clean and inspect your wallpaper. With proper care, your wallpaper can remain vibrant and intact for years to come. Remember, how long your wallpaper lasts isn't just about the quality of the product; it's about how well you take care of it.
Conclusion
In conclusion, using peel and stick wallpaper isn't as daunting as it seems. With the right tools and a little preparation, you can transform any room.
Choose a design that fits your space, measure correctly, and apply carefully. Don't forget to smooth out bubbles, adjust for pattern alignment, and handle corners and outlets with care.
With regular cleaning, your new wallpaper will stay looking fresh and vibrant for years to come. Happy decorating!


